
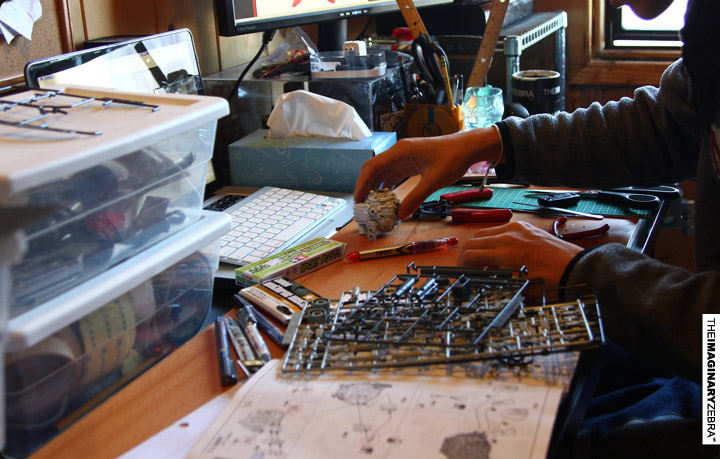
When I made the skateboards last month, some of you like to see some of my Gundam customs as well. I didn’t have the habits of taking process pictures before, so I don’t want to just snaps pictures of the Gundams that I’ve already made. The process, to me, complements the customization and brings the story to the final product. Hence, here’s my new toy and its making of for your viewing pleasure.
I usually build BB Gundams/SD Gundams; they’re small, simple, less time consuming to build.
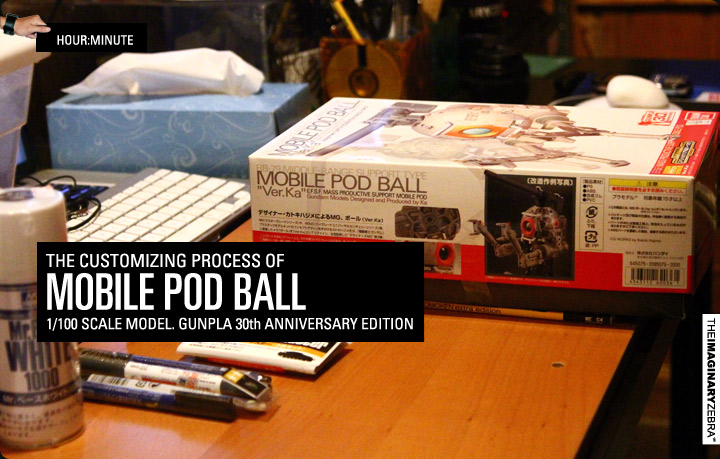
This “Mobile Ball’s” a new approach for me, I got it for its potential for custom. Plus, I like trying something different. 
↑This is also a model by Bandai. MG – 1/100 in scale. It also comes with a base stand – adds a professional look when place on your shelf. I got it in Taiwan for about $17 bucks.
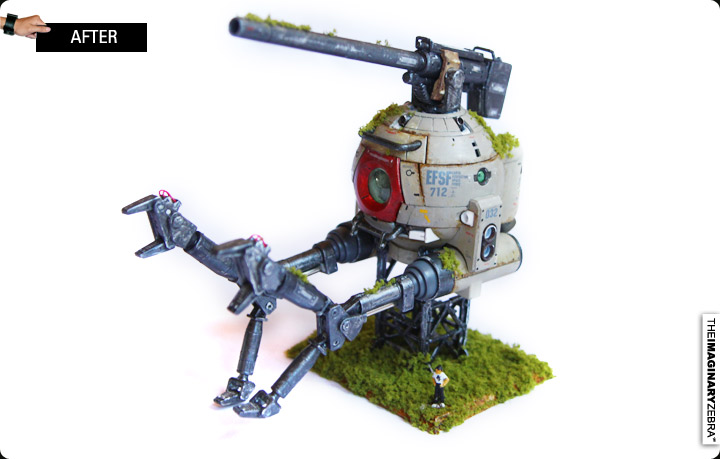
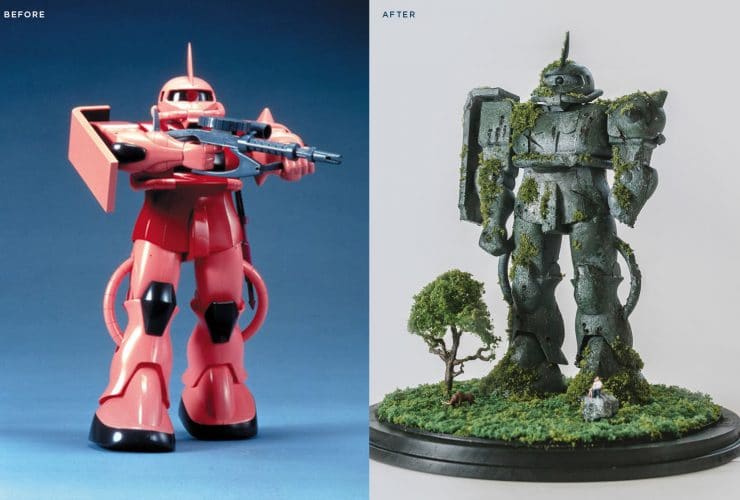
Here goes: I was going for the aged weathered look for this particular custom. 
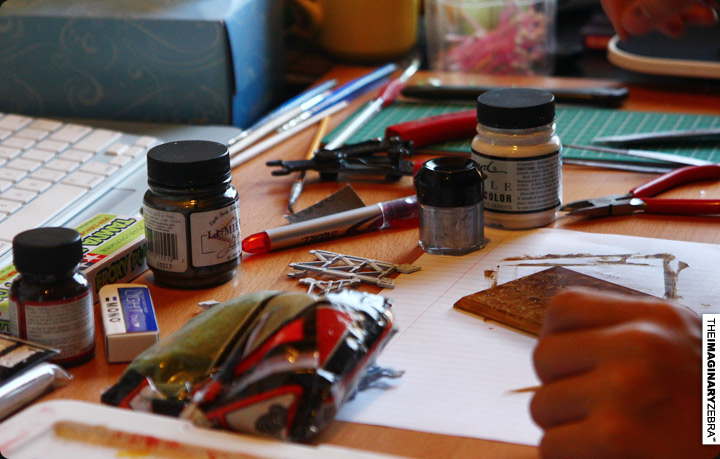
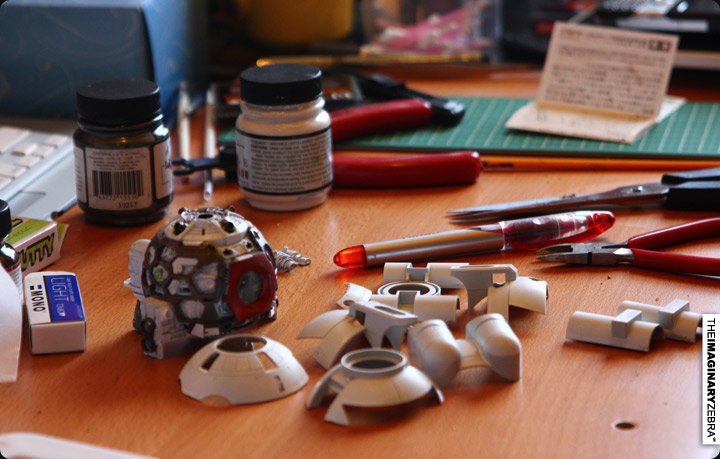
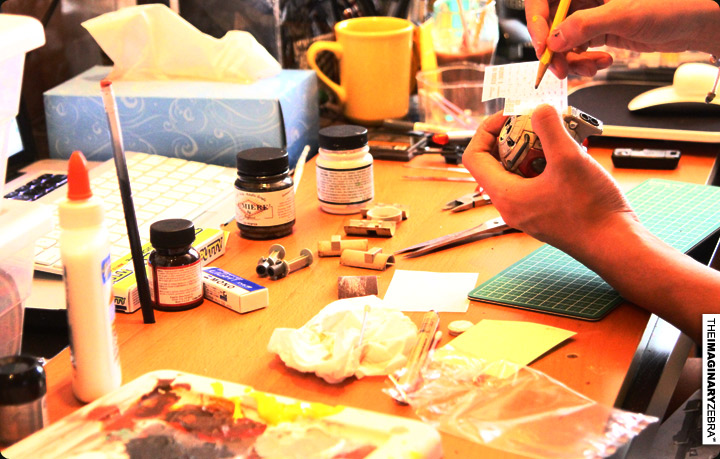
↑ I got some Gundam building tools (Epoxy putty, outline pens, primer, and weather paints ) for this custom, but I ended using none of them except of the primer. I hand painted the guy with paint brushes and acrylic paints.
↑I usually spray primer first before cutting the parts off. I think I’ve been wrong.
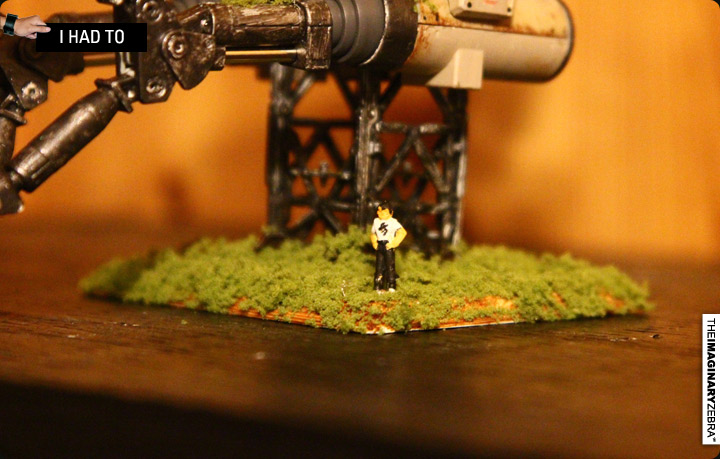
While waiting for the rest of the parts to dry, I started building the base stand first. 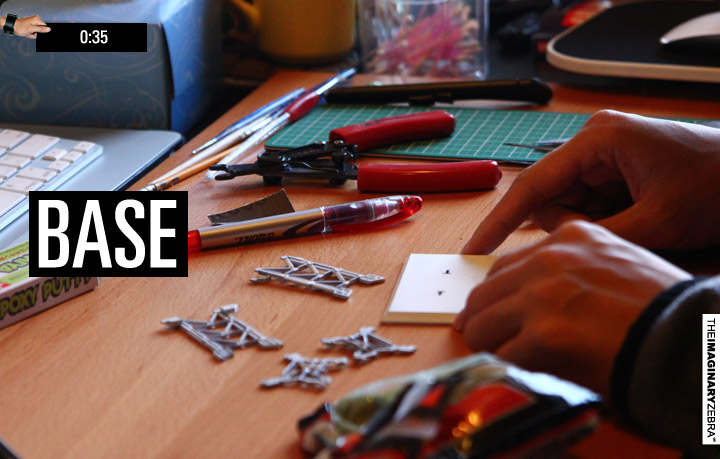
↑Grass type stuff for landscape modeling I got from a hobby shop years ago.
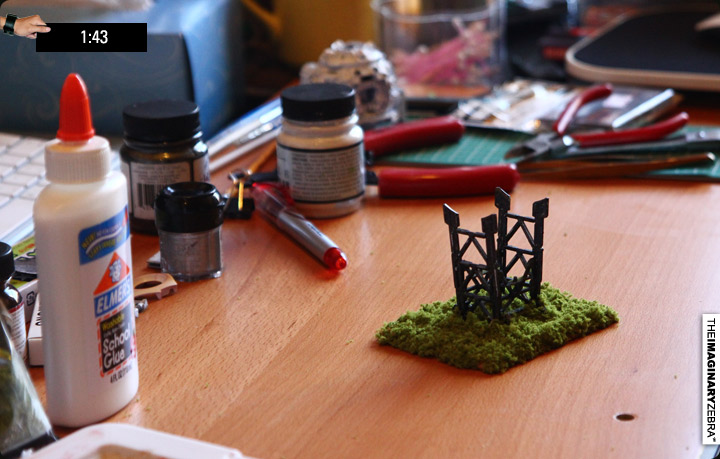
↑Done. I painted the base brown before sticking the grass.
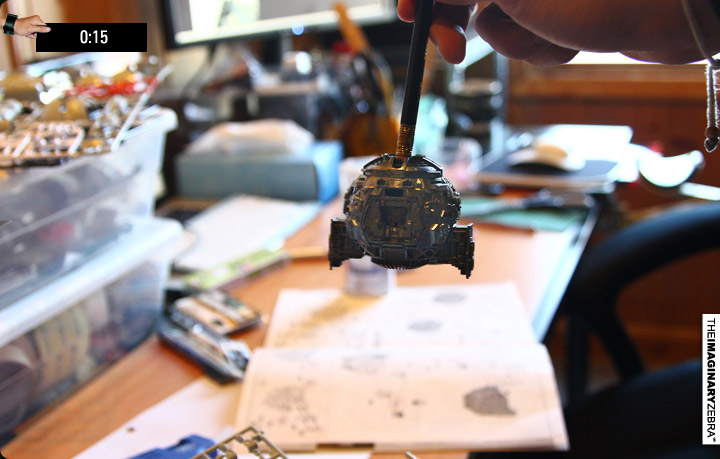
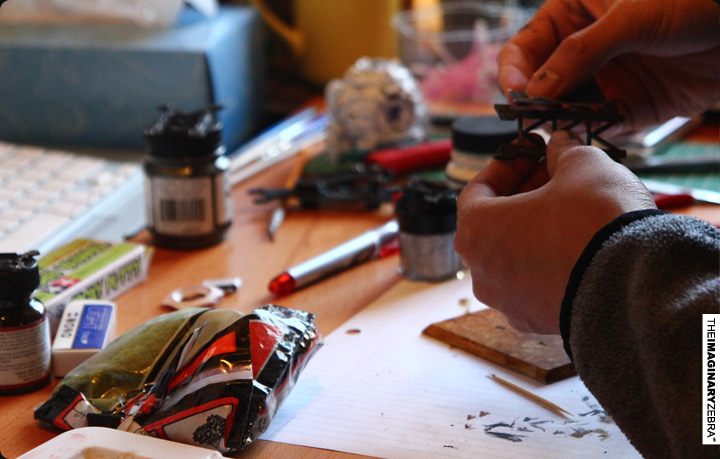
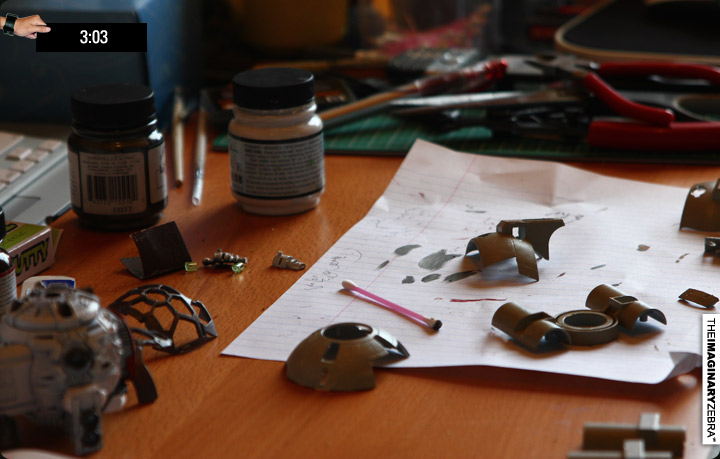
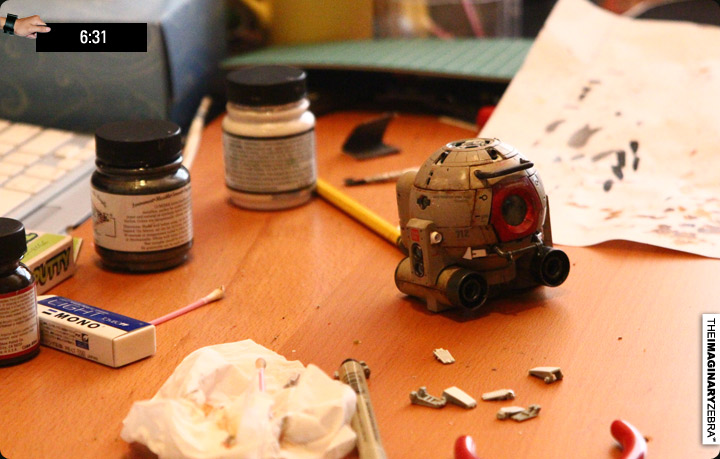
The body came in 3 parts: the base structure( picture below), the inner frame, and the outer cover/shield. It took me a good while to add texture to them. 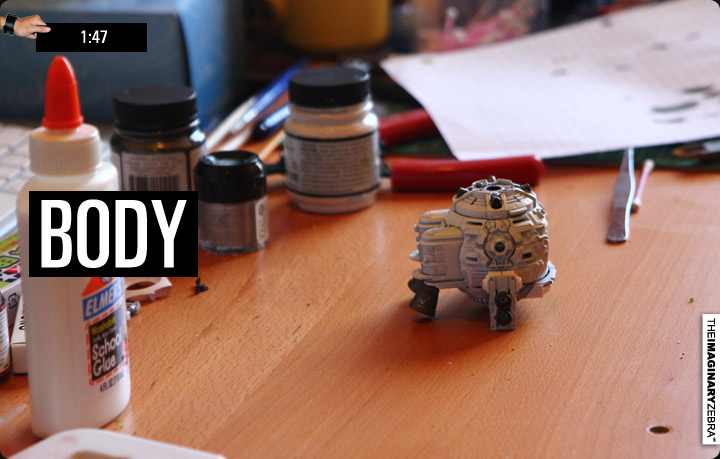
↑The base structure. Since it was dark grey, it created its own black outlines after I sprayed the white primer. I like how it looked so I stuck with it.
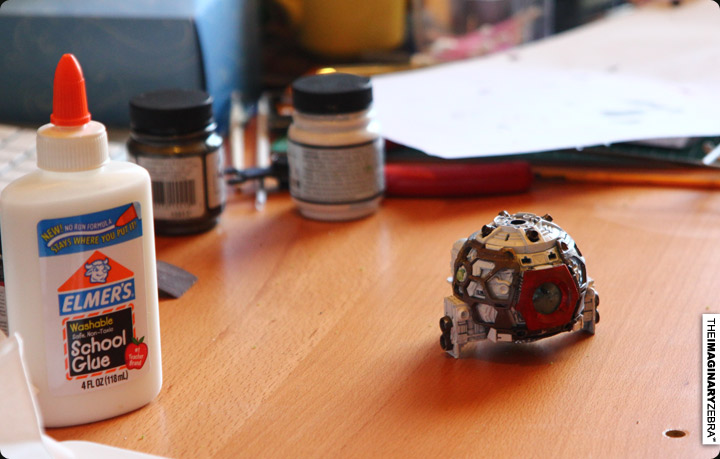
↑The inner frame and the front door added.

↑Bandai did a really great job manufacturing this model. Its got all the minute details.
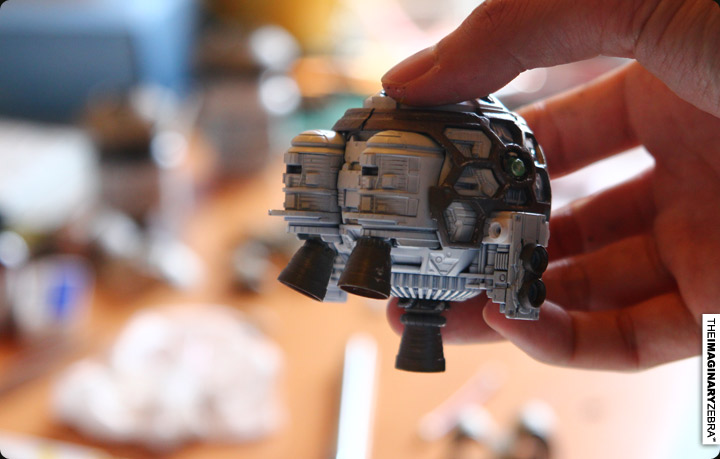
↑The outer shields/cover after priming.
↑Added color, drew outlines, and weathered/aged.

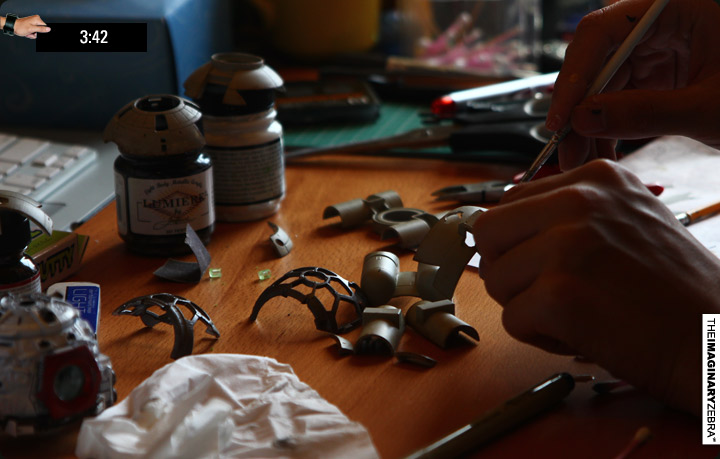

↑Professionals usually airbrush the model for smooth surface. I couldn’t afford an airbrush machine so I hand painted mine. Fortunately, the brush strokes also adds texture to the overall look.

↑While waiting (yet again) for the rest of the parts to dry, I applied the rub-on stickers that came with the package to the body.
BAM.
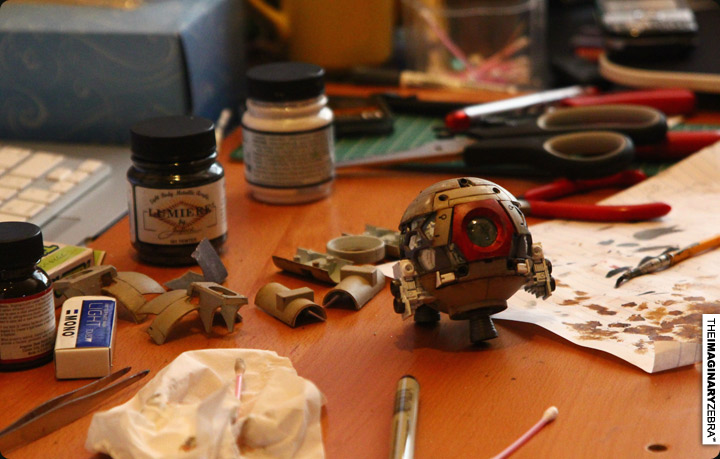
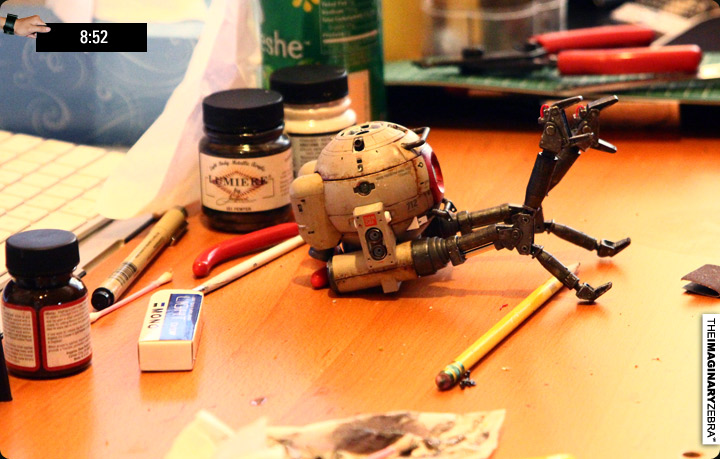
I had to struggle a bit to pick a color for the arms. Finally, I chose gun metal.
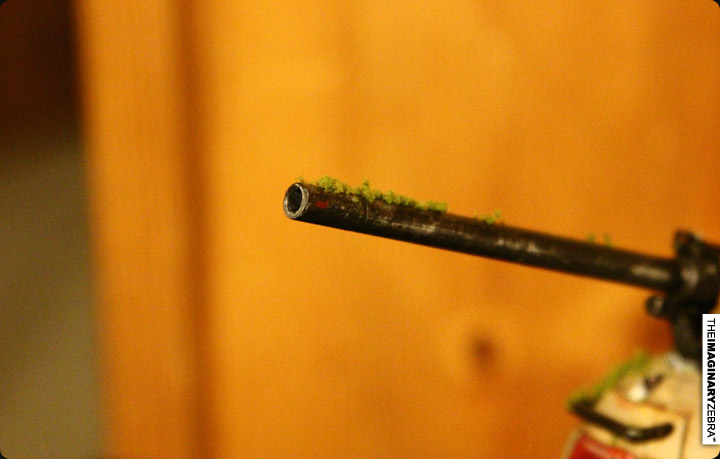
Well, that was quick. 7ish hours into it, I stated to skip the picture taking. I’ve never spent this long making toys. I also built and painted the canon on top. Forgot to take pictures of that, my bad.
Final touch!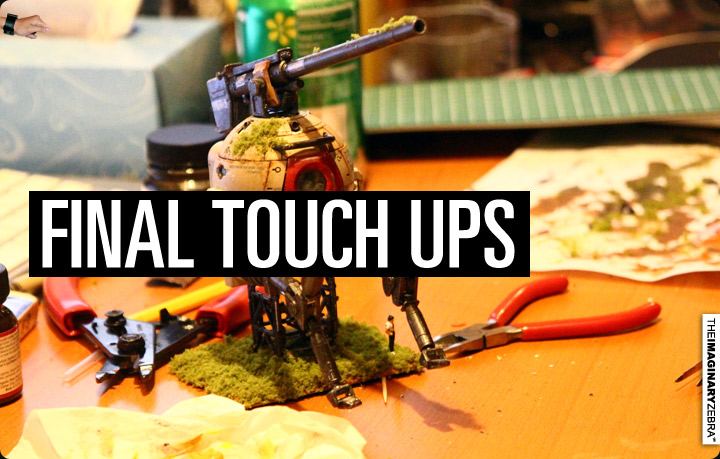
It also happened to be 96 degree outside. The room was hela hot. 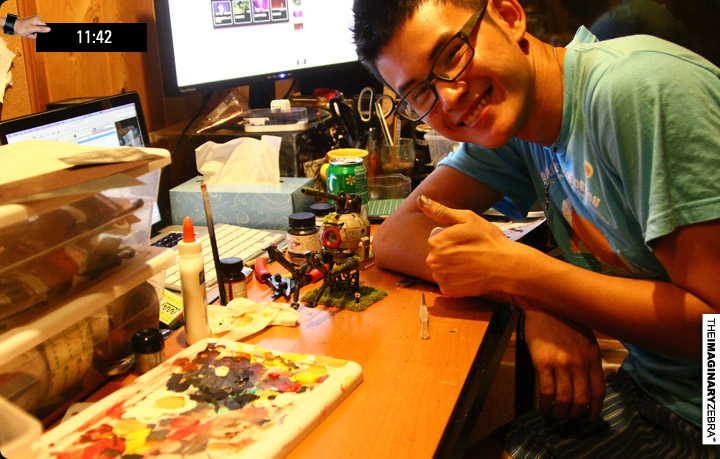
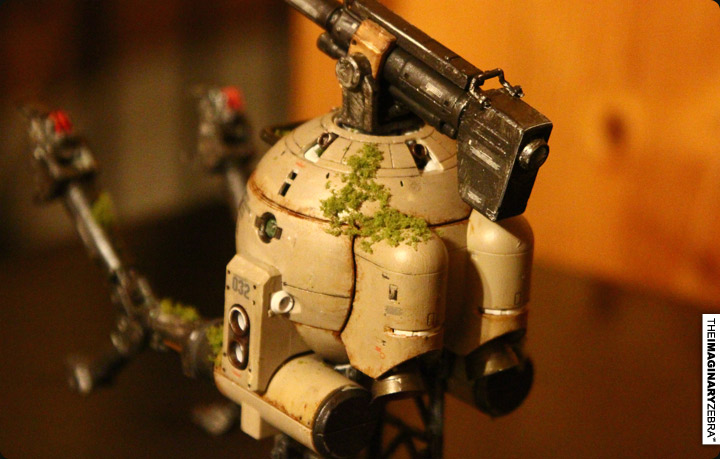
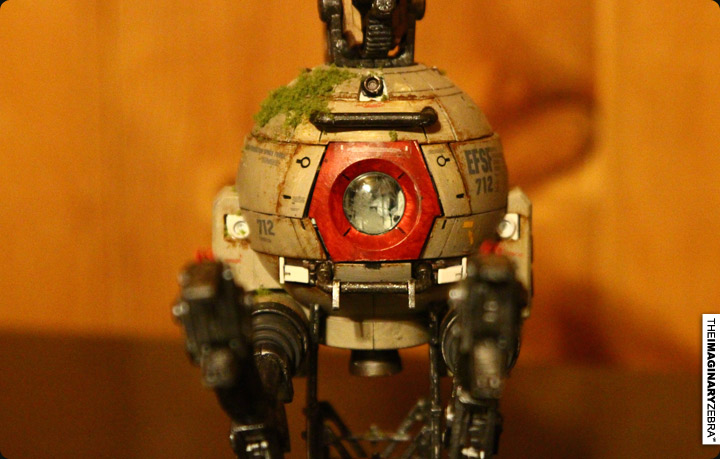
DONE!
Quick stats: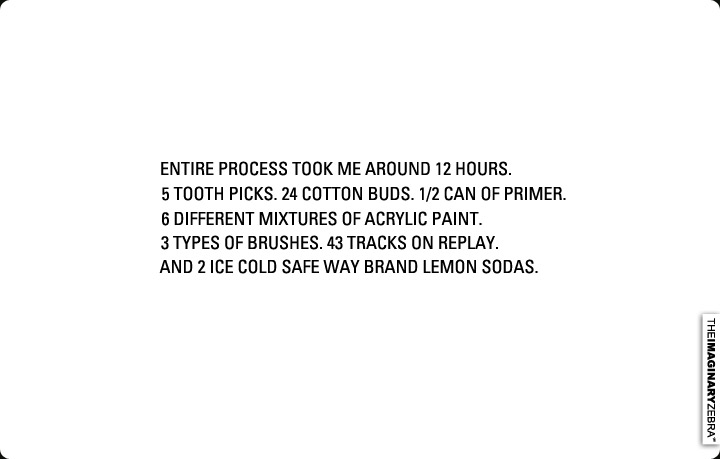
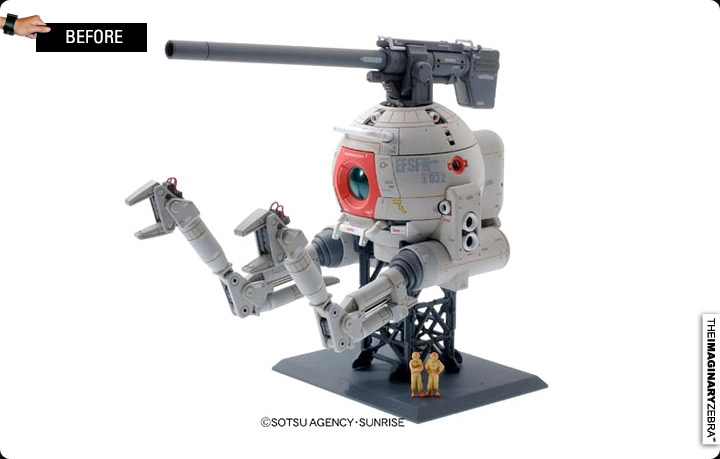
↑How it suppose to look. The provider of this photo also outlined the pod and painted the guys below. It’d look plainer if built directly without touching up.
More final product shots: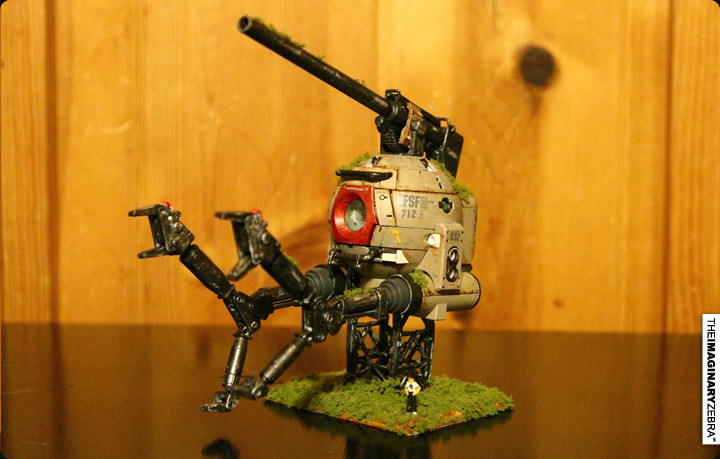
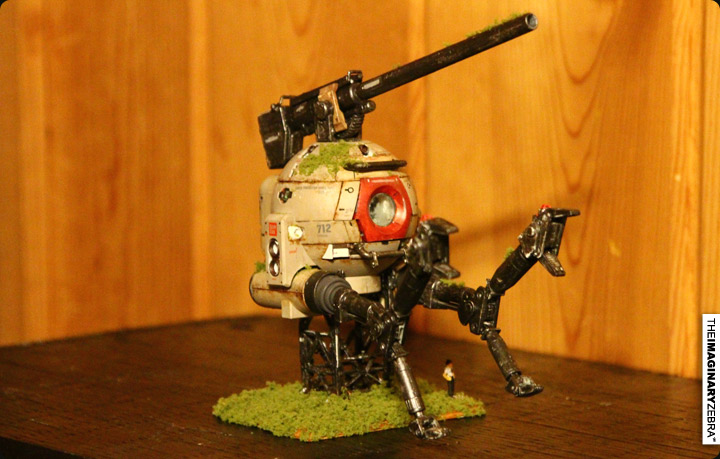
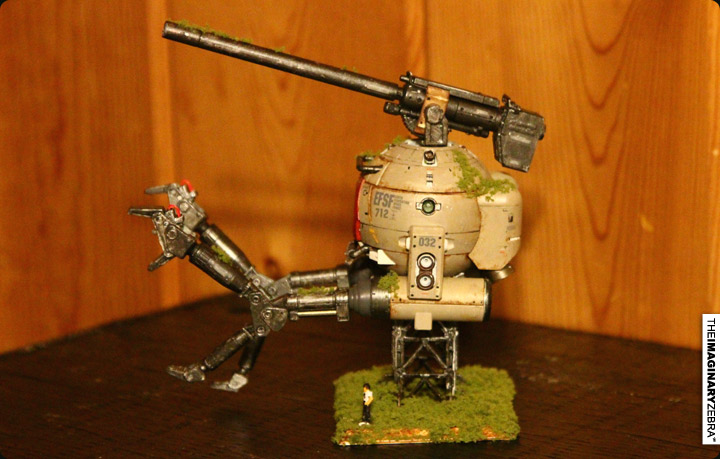
↑#712 for TIZ.
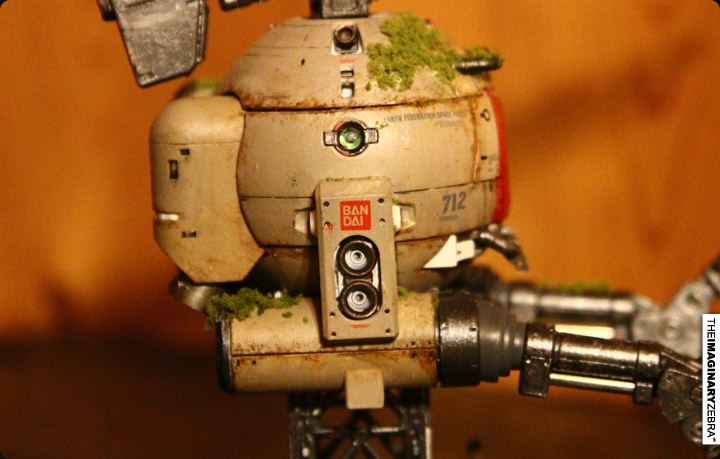
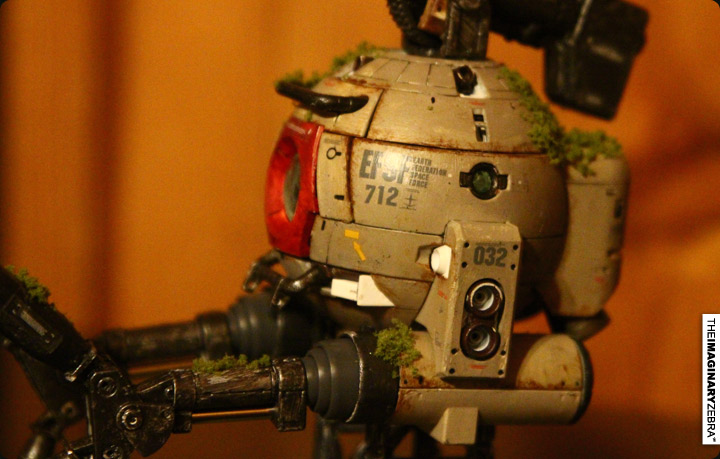
↑ Though, Bandai museum sucked, I still applied their sticker as respect for all the toys they made, including this one.
↑The Imaginary Zebra, yo.

CA’BAM!
======================================================================== -Benson|| Twitter || the movement|| The Imaginary Zebra website || Shop of Imagination ||
Permalink