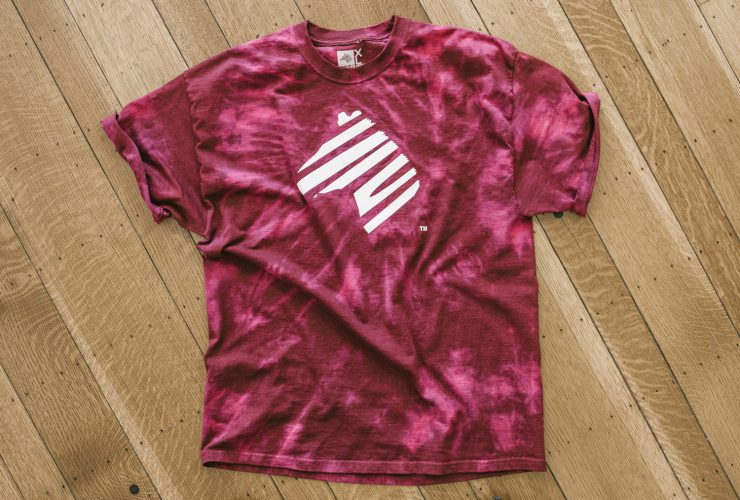
Been thinking about this project for a long time, finally took the time to execute it:
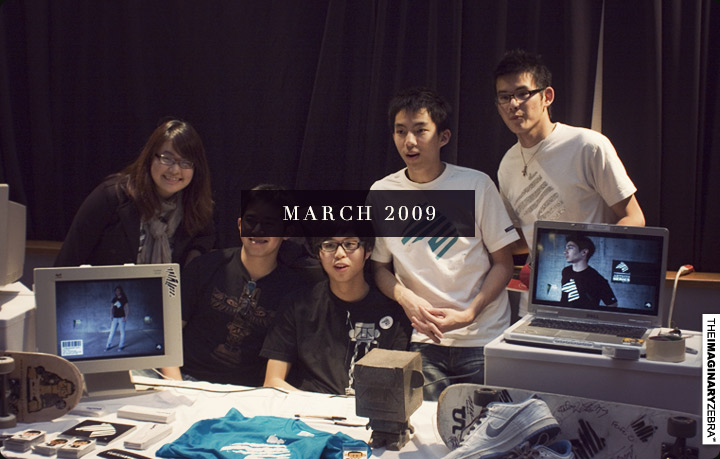
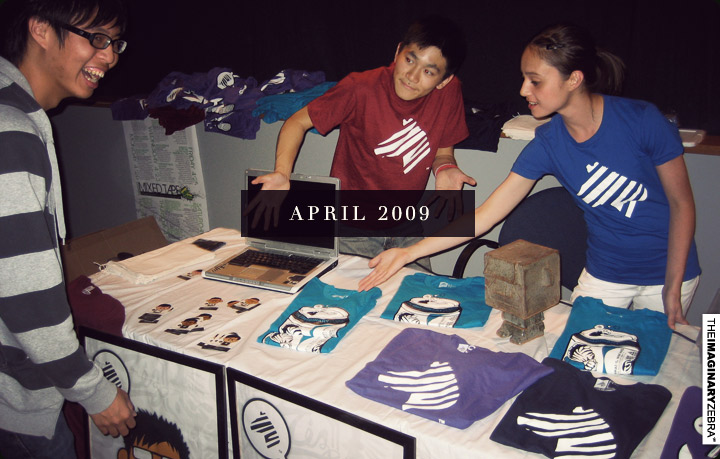
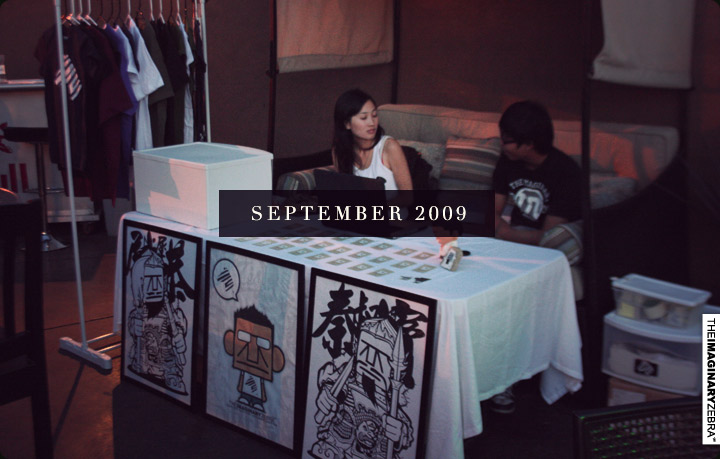
I’ve been vending with my [t-shirts] for a while now. Through each opportunity, I’ve tried to arrange my tables differently to capture the attention and make a good impression (You never know when people will have their snap judgment about your brand). However, I have never been completely satisfied with my set up – it’s too predictable: 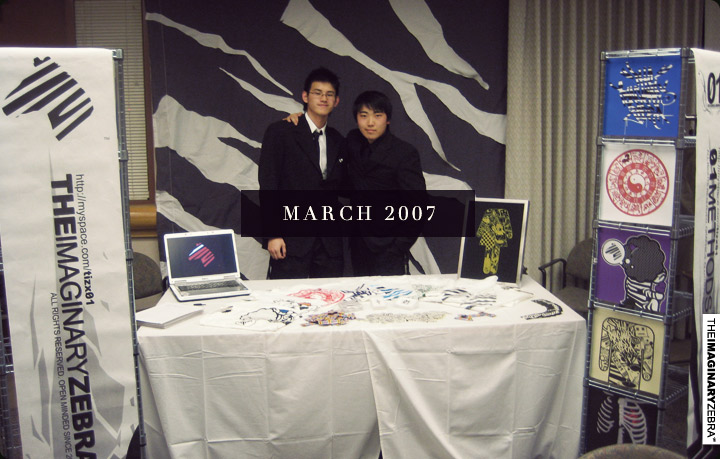
↑ mmm. ok.
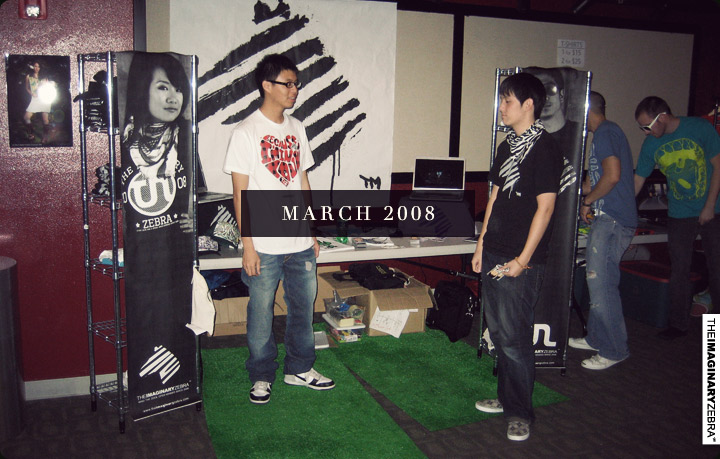
↑ yea, alright.
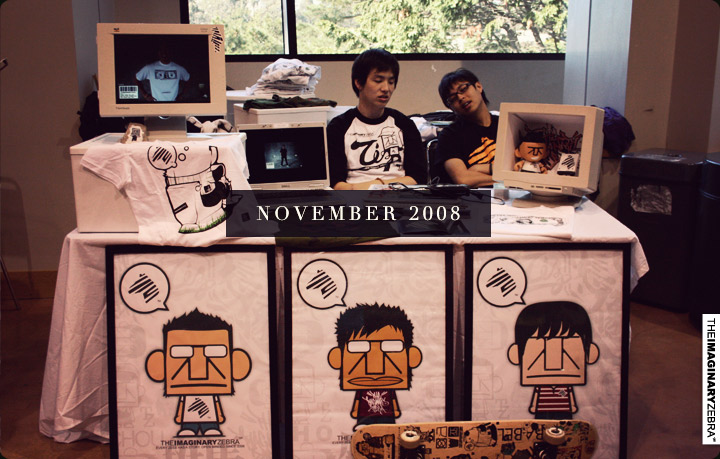
↑ *yawns*
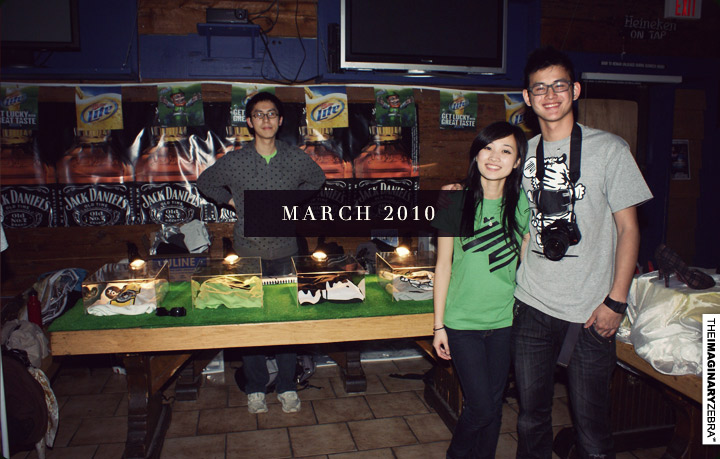
Ah, you see what I’m saying? Boring!
Problem:
It’s always been the same thing one way or another.
I felt that the shirts are restricted to the medium – table.
Just finding difference ways to place the shirts ain’t gana do it!
Approach: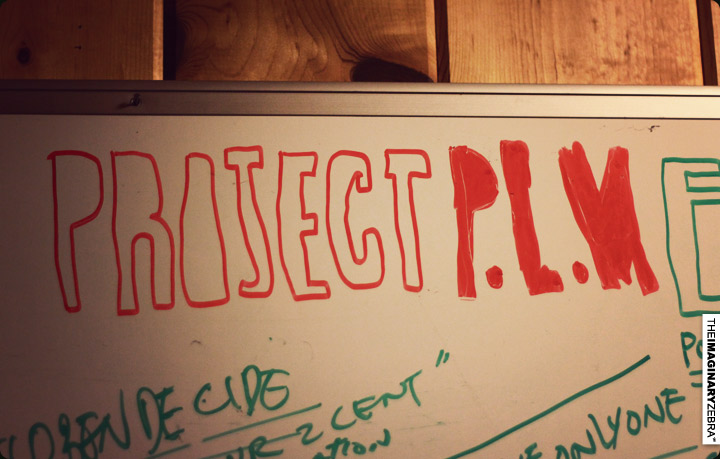
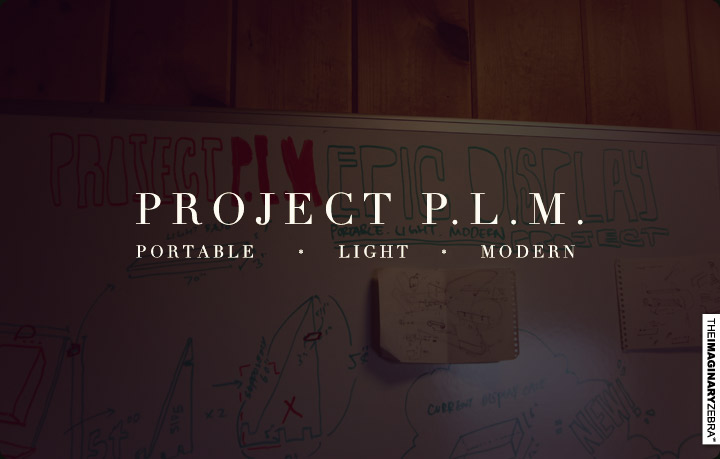
↑Project PLM – I wanted to recreate the space and have a consistent set up no matter which venue I go.
Guidelines:
Enable to do this, I need to set up my table every time with the same tools:
-The tools need to be “portable.”
With usually either just me or with a friend at shows, we have limited strength to carry the tools:
-It needs to be “light.“
The design can’t be blend. or we could’ve just stick with the basic table set up.
-Display needs to be “modern.”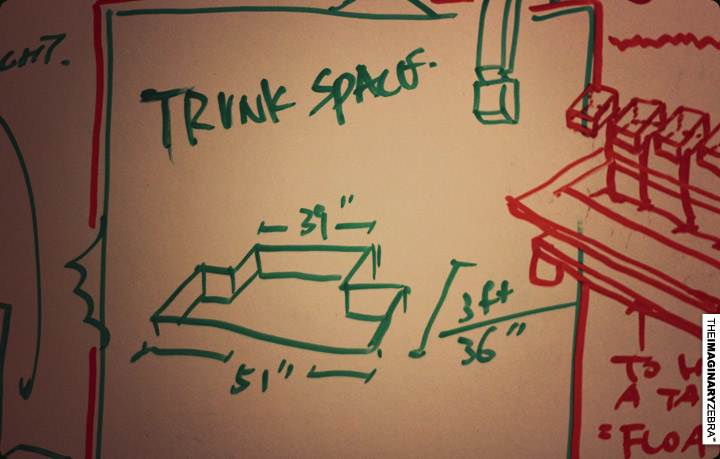
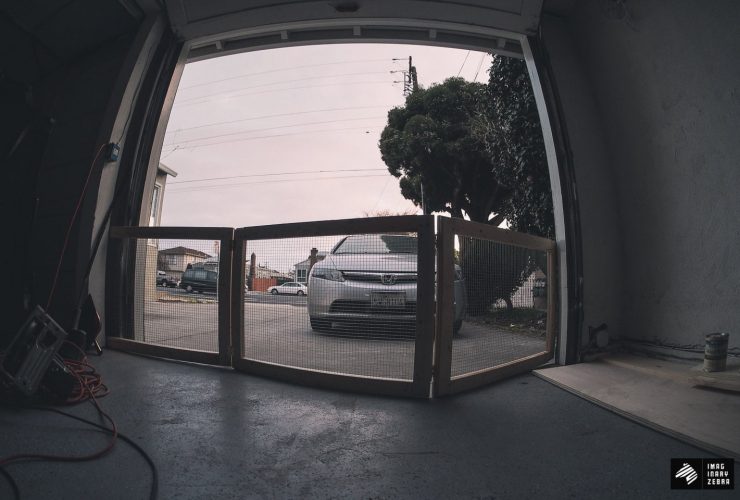
↑I drive a Honda Civic. It’s got limited trunk space.
I had to work around that to build my display stand.
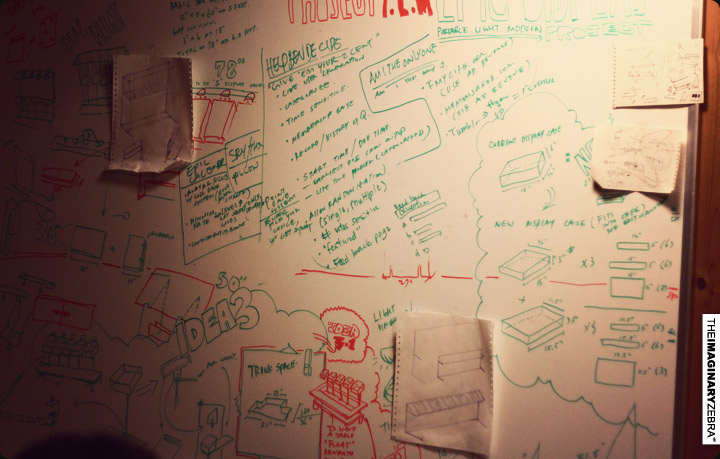
↑My white board with ideas.
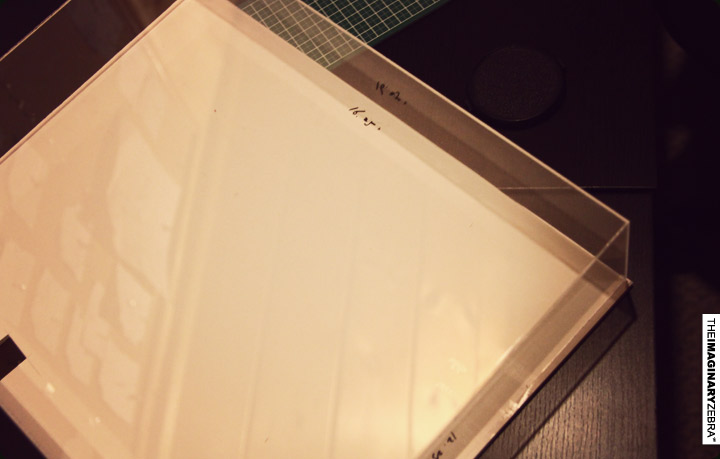
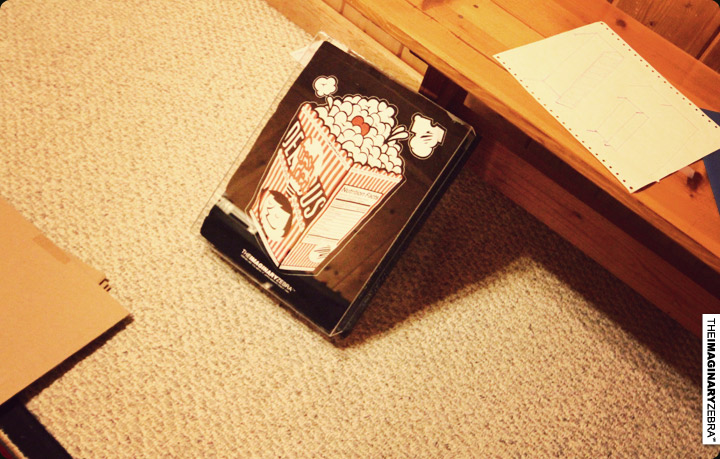
First thing’s first – I had to redesign the [plastic cases (I made a while back)]. 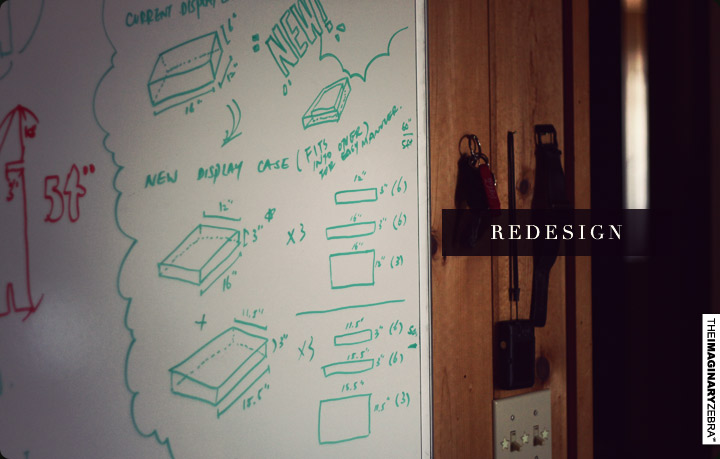
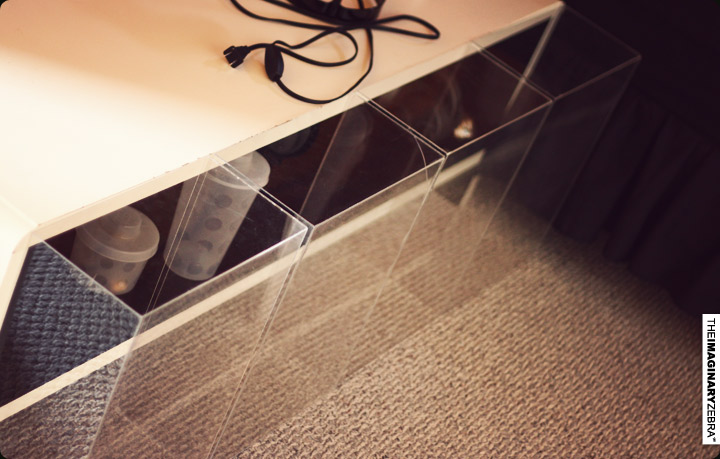
↑I like the cases, but they take too much space.
Instead of making the same size casing for all 6 of them, I made 3 big ones and 3 slightly smaller ones.
This way, the small ones can fit within the big ones – half the space needed for 6 boxes. 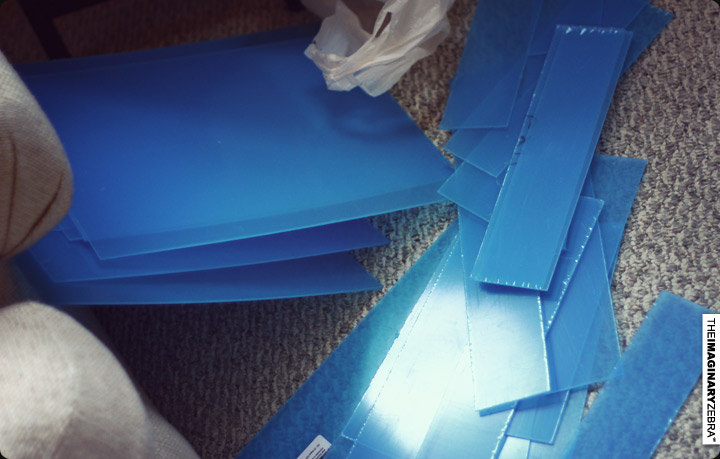

↑ Less space consumption – check.
Now move on to the display.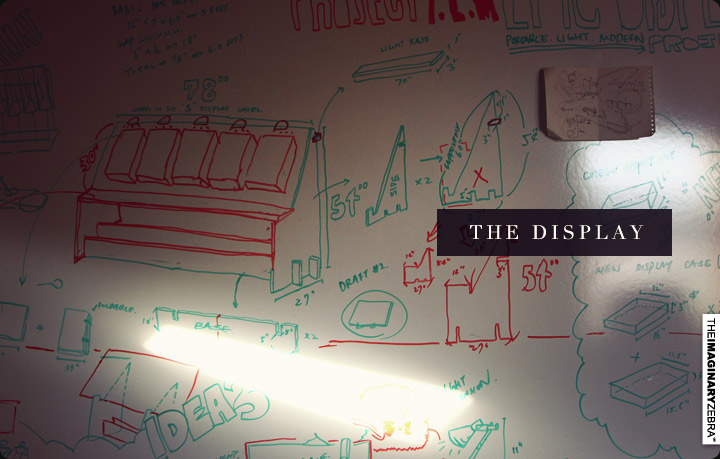
First idea: Inspired from a plant vendor on the street.
The guy basically took out a couple of plywood and made a stand! It’s sturdy (with plants stack on top of the wood) and it’s portable!
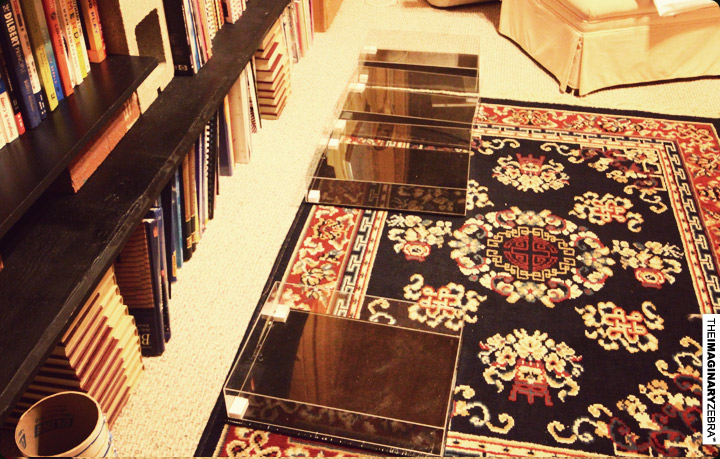
I made a quick prototype: 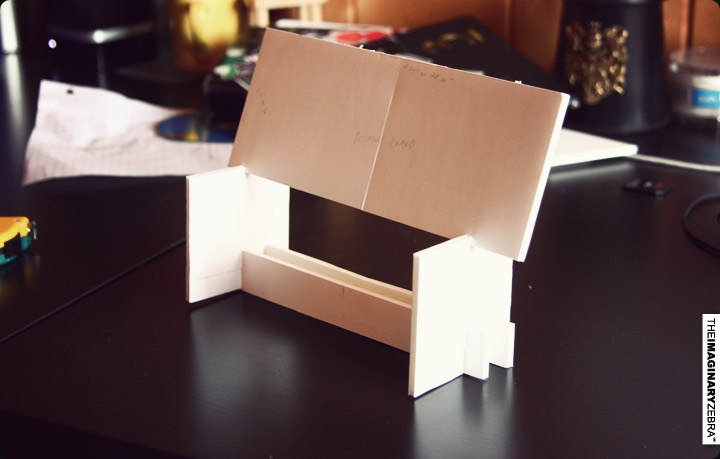
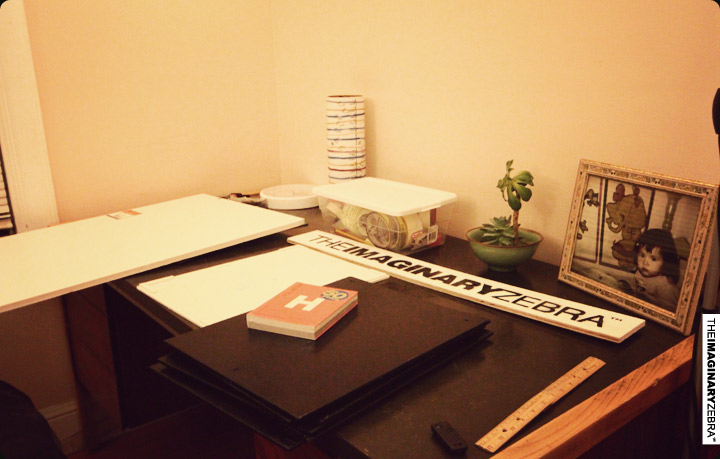
↑The big flat boards for t-shirt displays.
I needed to fit them inside my trunk, so most pieces have to be fold-able, which comes down to these pieces: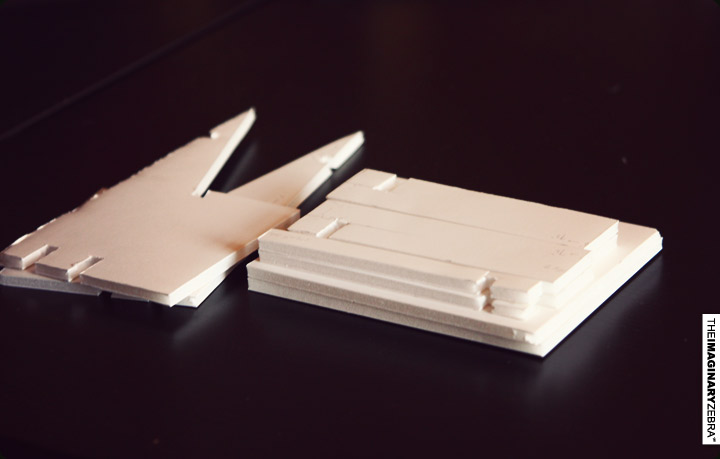
However! The boards don’t have one of the attributes that I want from this project – they’re not LIGHT at ALL.
BAM, that was the termination of idea #1.
Move on to idea 2! 
↑ Float.
For the second idea, I want to create the illusion that if the shirts are floating in mid air.
Concept drawings: 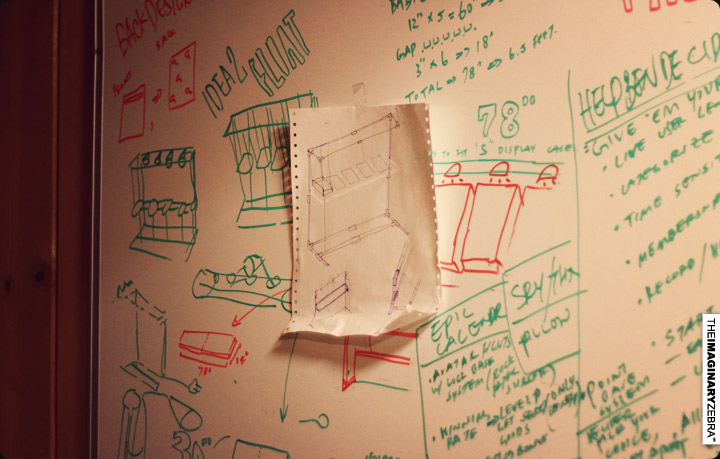

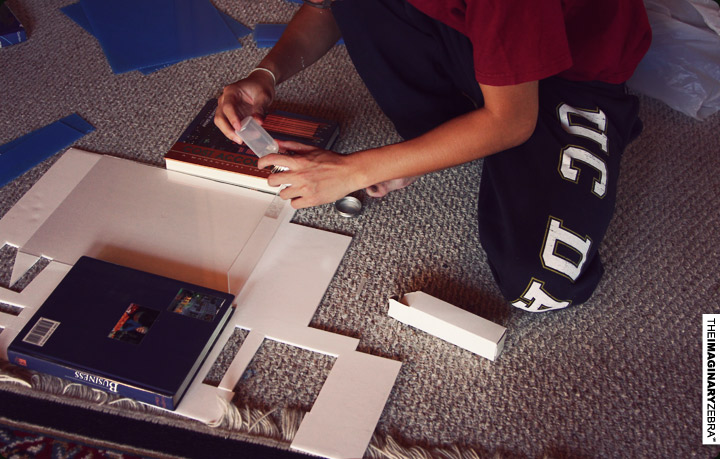
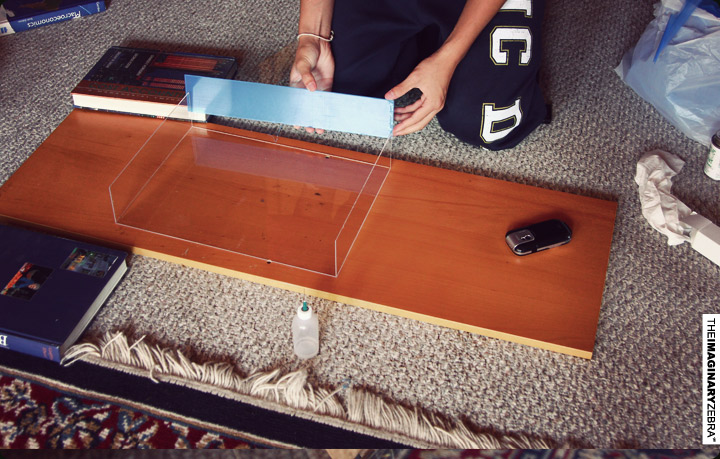
For that idea to come alive, I first needed to find a way to make the plastic cases float: 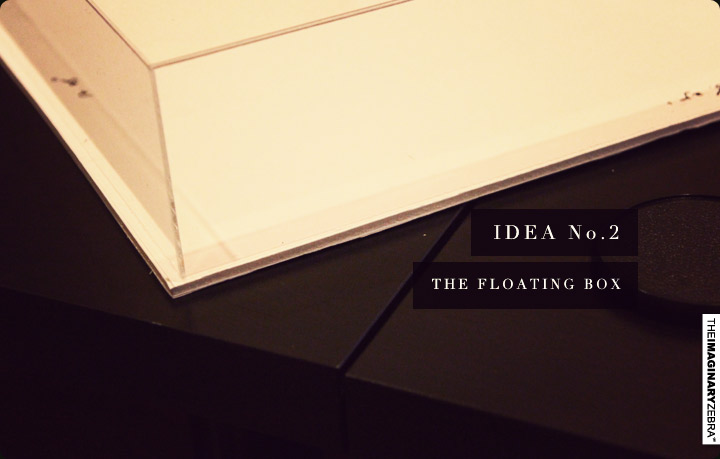
↑ Another prototype. Place box on top of a cardboard cut out.
I used hooks and fish string to hang the box. 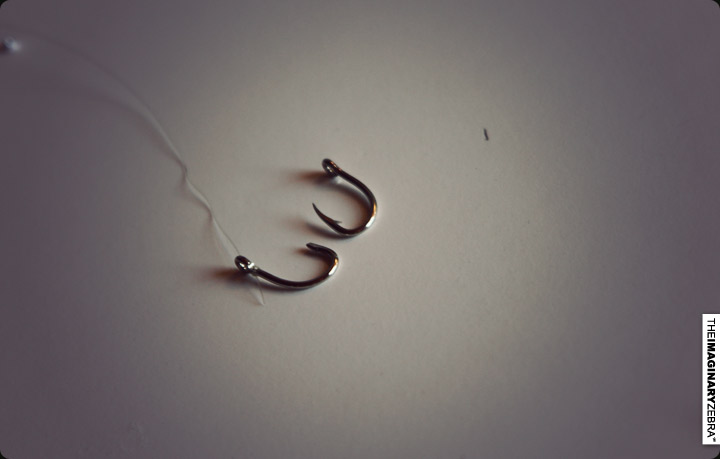
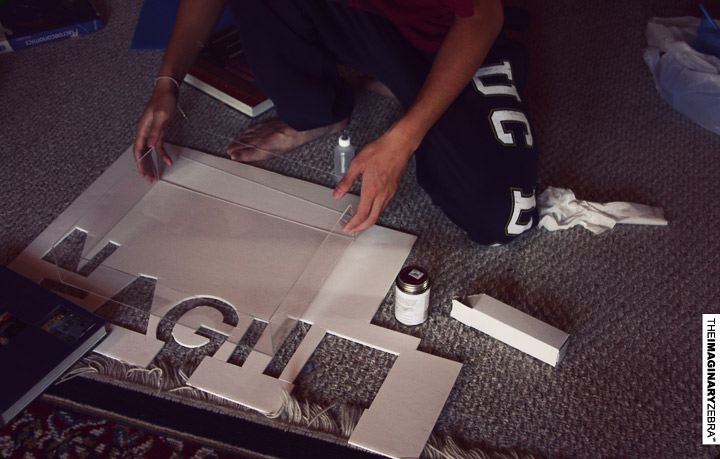
↑ Clipped the sharp edges.
Thanks to the slight transparent strings, almost look like the box’s actually floating. 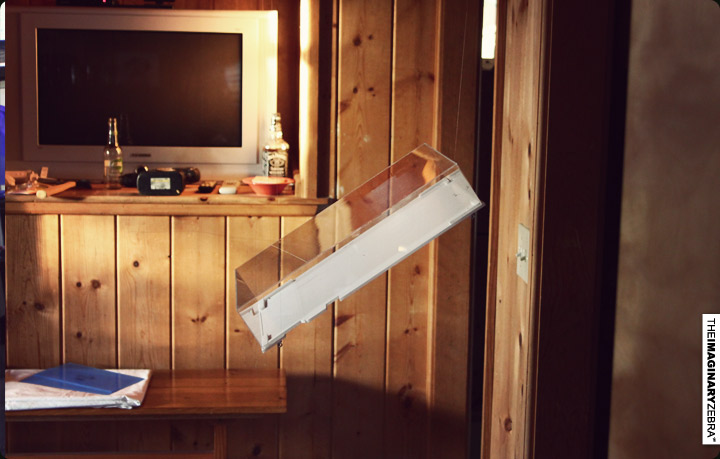
↑I bet the fish can’t see the strings.
After prototype, I moved onto wood pieces for the back boards of the floating box: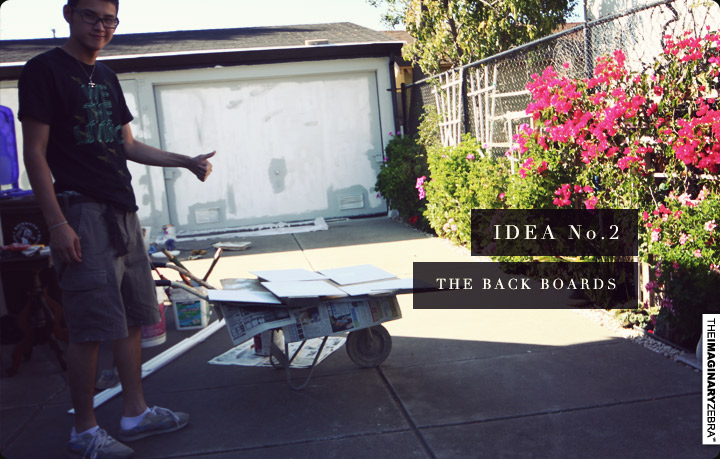
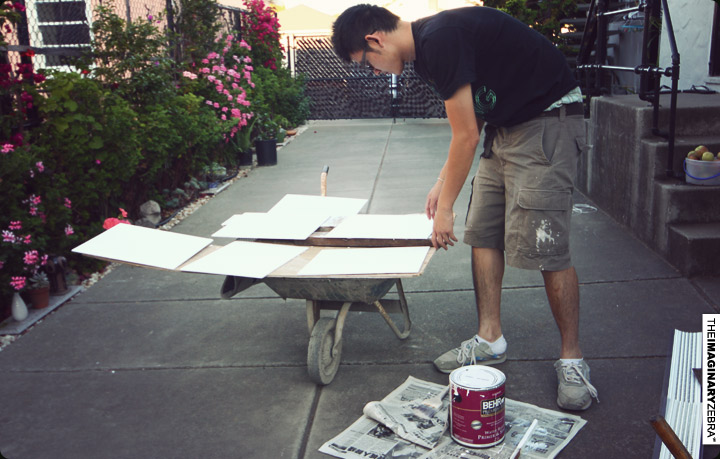
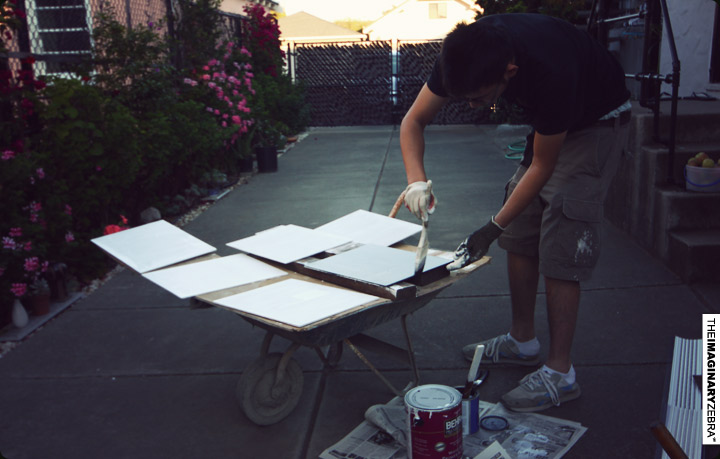
↑ Painted black for better looks. I got some weird latex paint, it took me 3 coats per board to finish. (I should’ve gotten the regular spray paint.)
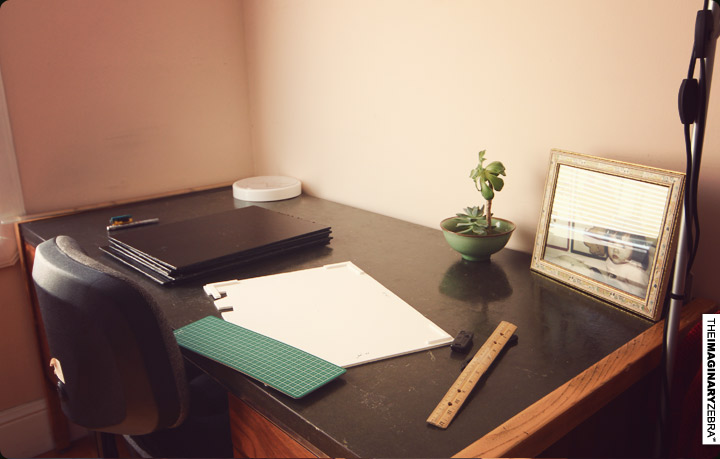
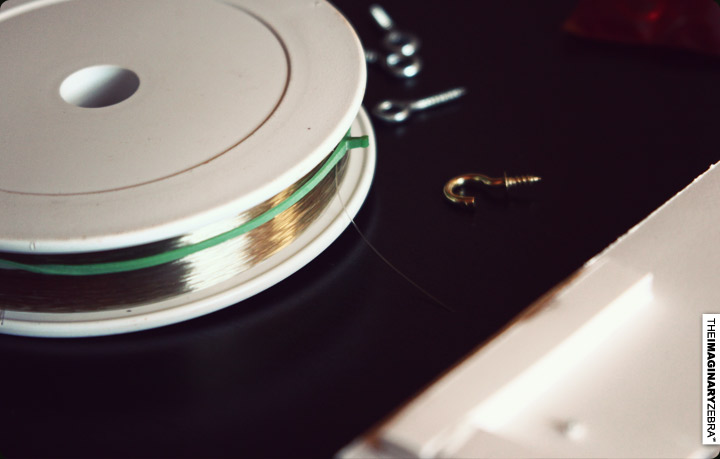
Calculated the distance to punch holes in for the hooks: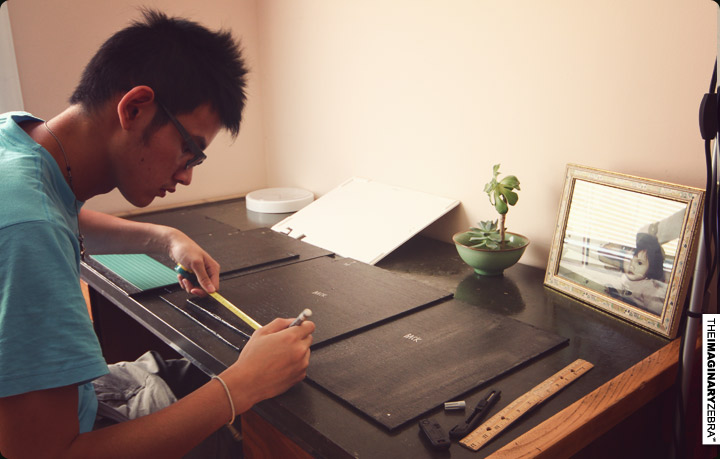
Each box requires 3 hooks: 2 for the font and 1 for back. 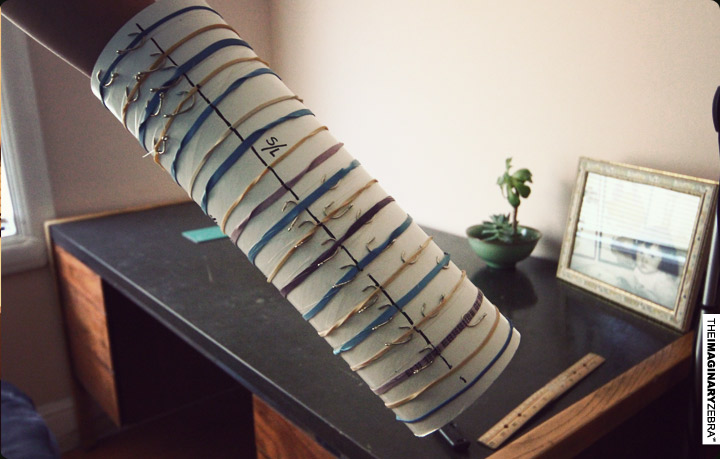
Boxes – Done.
Then, I moved onto the stand it self.
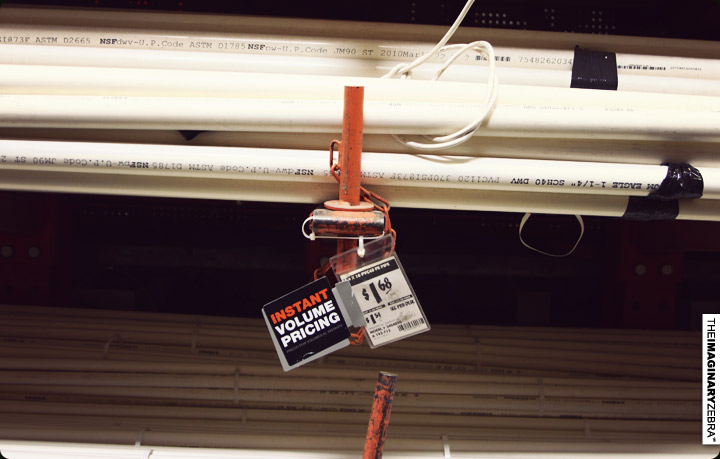
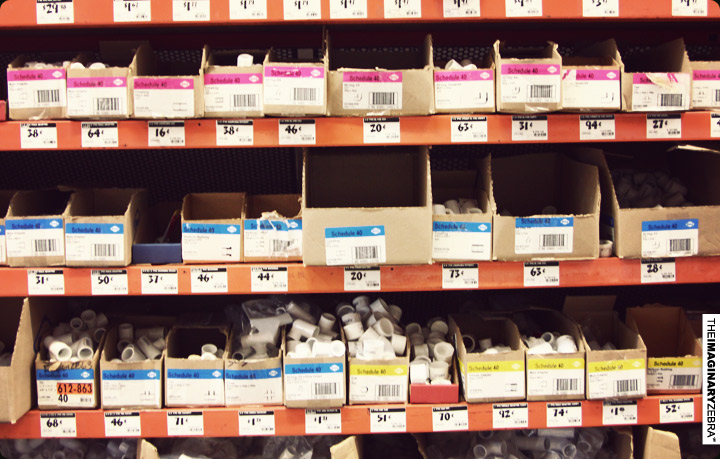
After considering the guidelines, I chose PVC pipes, as oppose to wood, for the main structure of the display stand.
With different types of joints, I get to be creative with how I’d like to shape the stand. 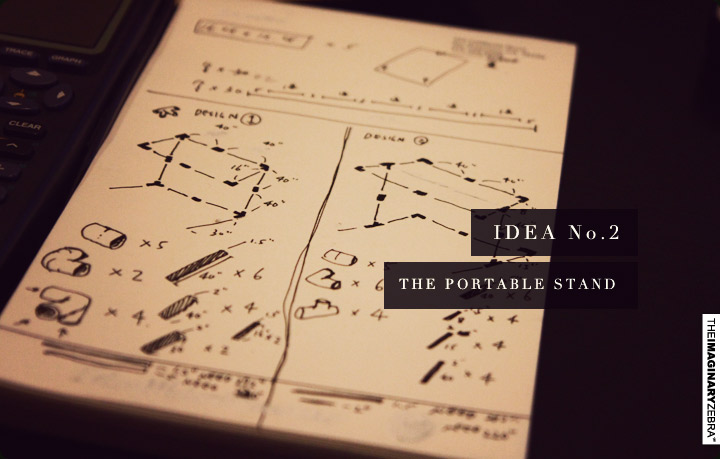
↑ Rough sketch – 2 different arrangements – To make it cost efficient, I made sure to choose the appropriate combo.
Home Depot sure come in handy for DIY projects. 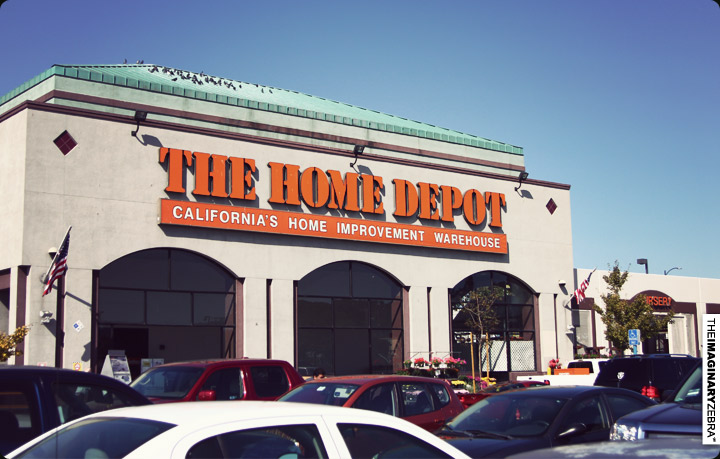
Time to moves things from paper to the real world. Fingers crossed. 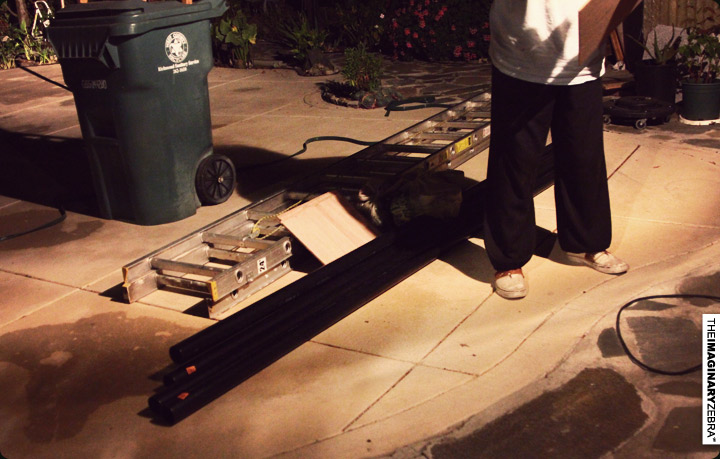
Super easy to cut the pipes – they felt like twigs.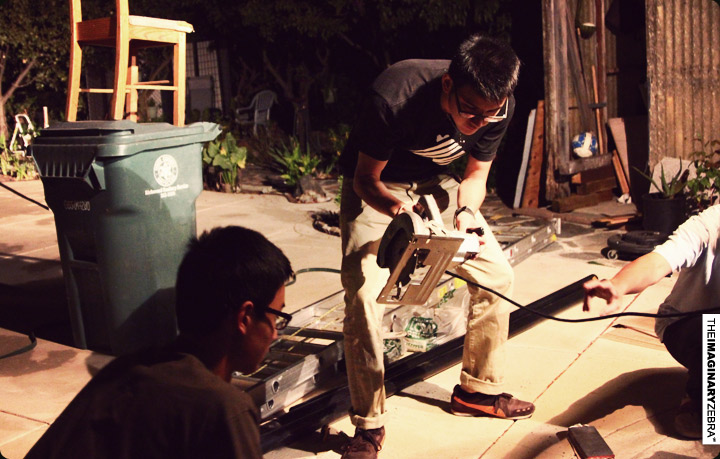
↑The widest length in my trunk was 51″, so no part of the stand can exceed that.
// A typical vending event provides 6 -10 feet of space – that’s 72-120 inches. I had to keep that in mind as well.
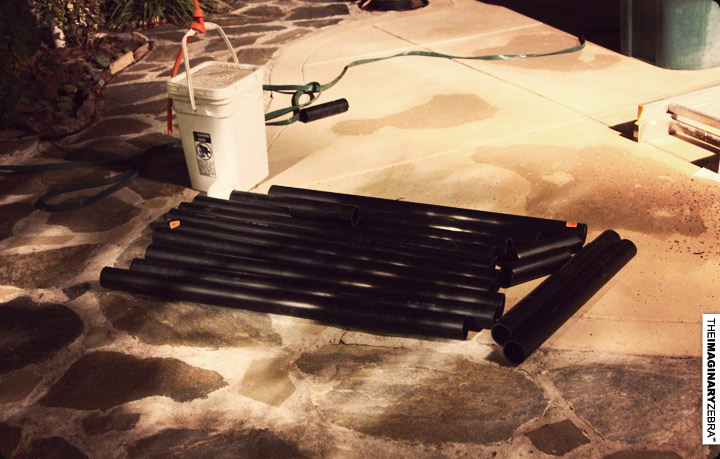
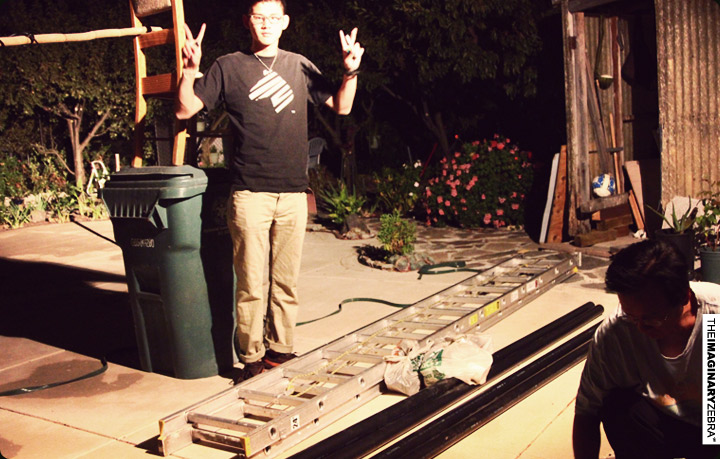
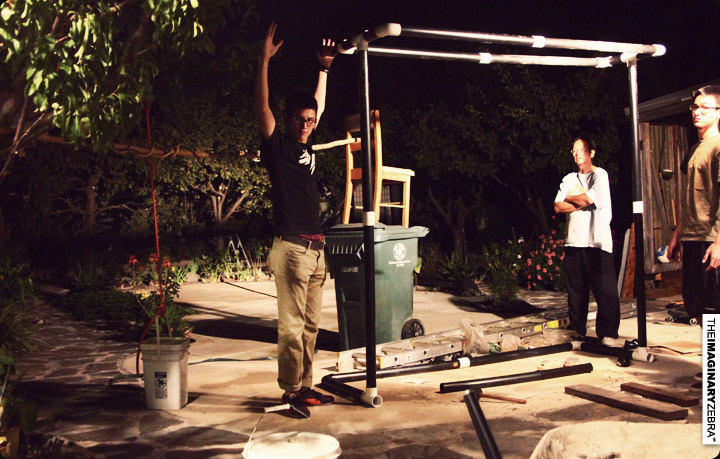
Trials and errors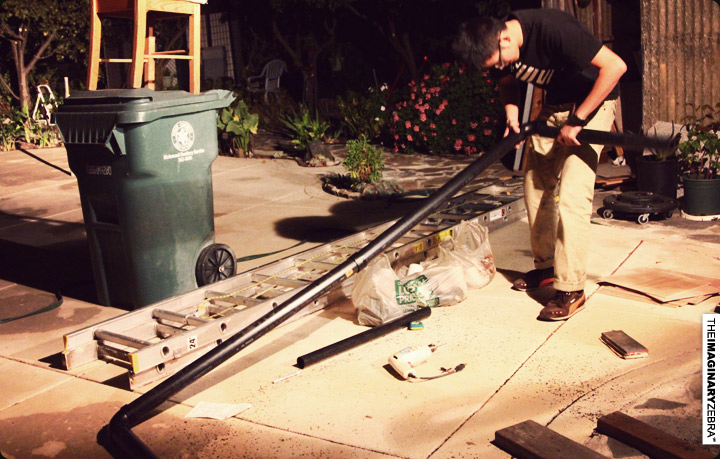
↑All the pieces. And no, I didn’t change my outfit the same night – trials and errors took 2 days.
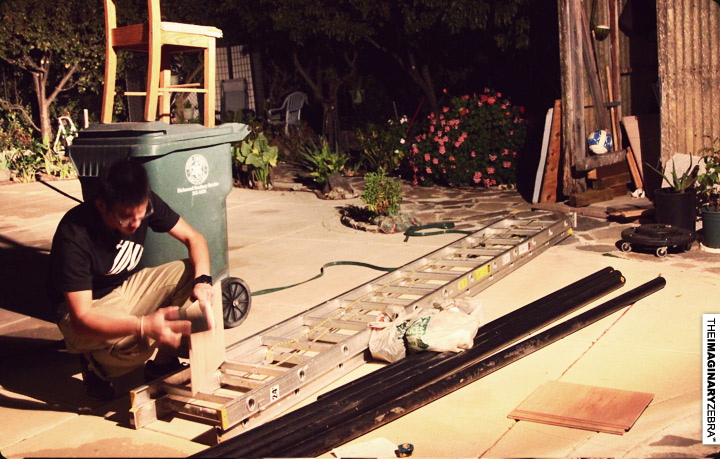
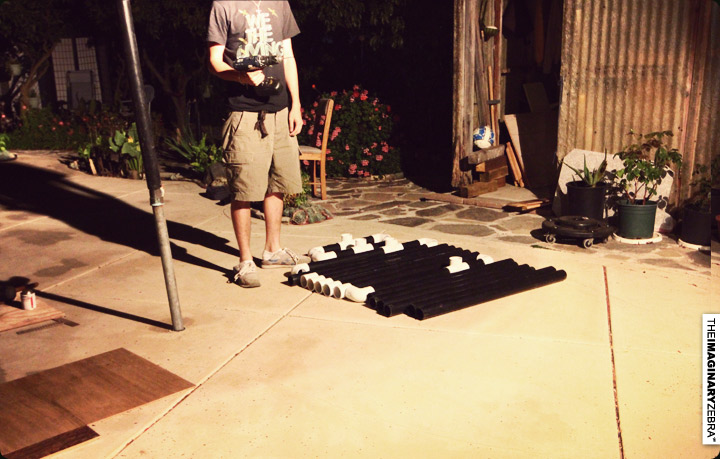
Improvements and modifications. 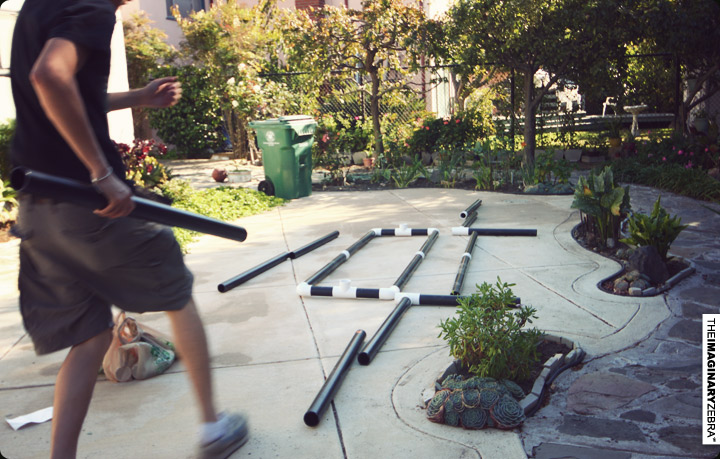
Got a basic idea of how it looks now. Things were slowly falling into places. 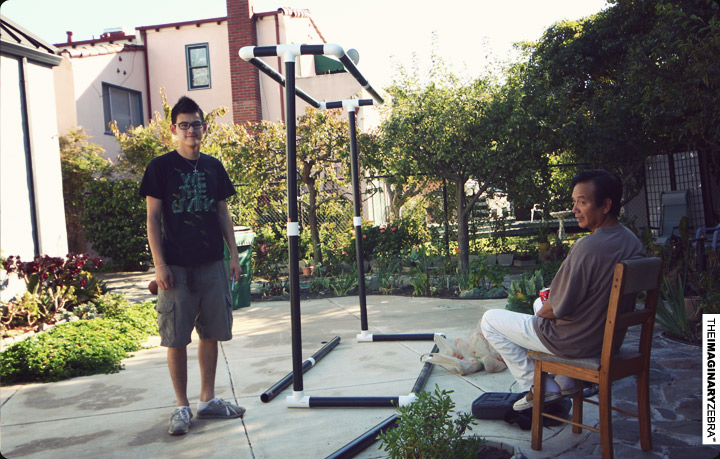
Once I had the structure down, I glued all the joints – the less the moving pieces the better.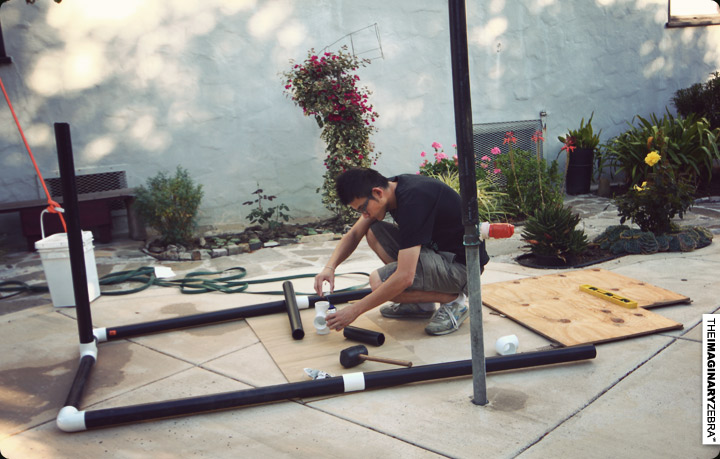
BAM!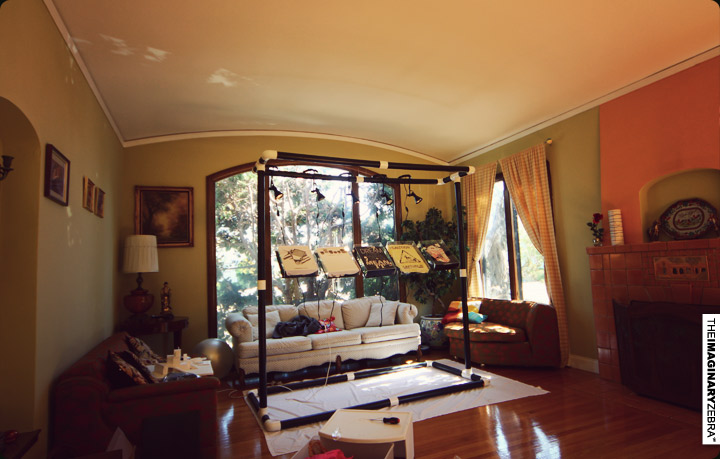
All I needed for every show now: 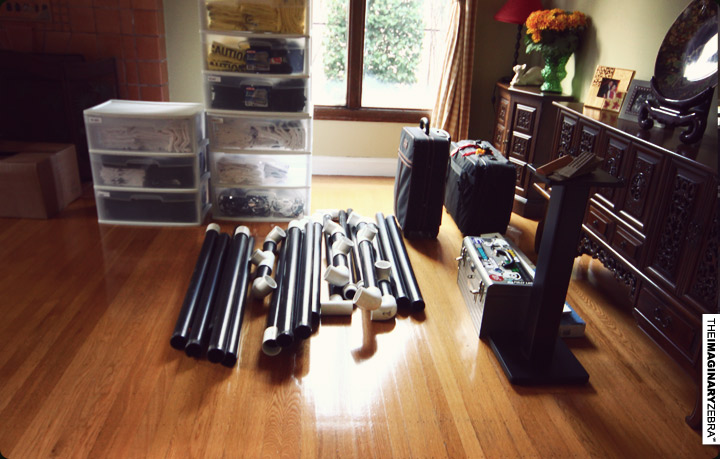
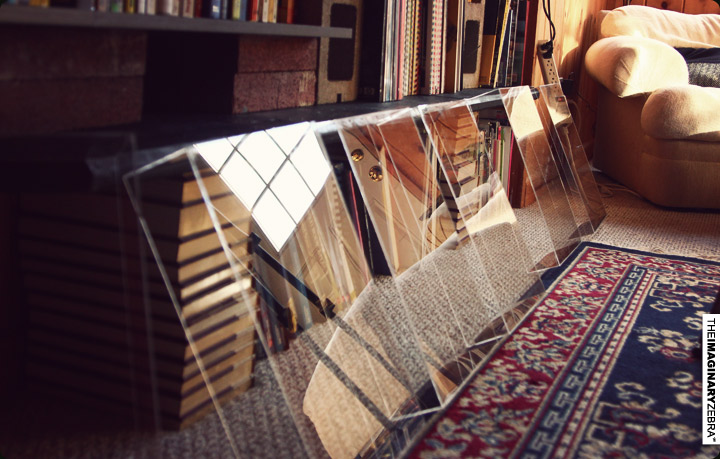
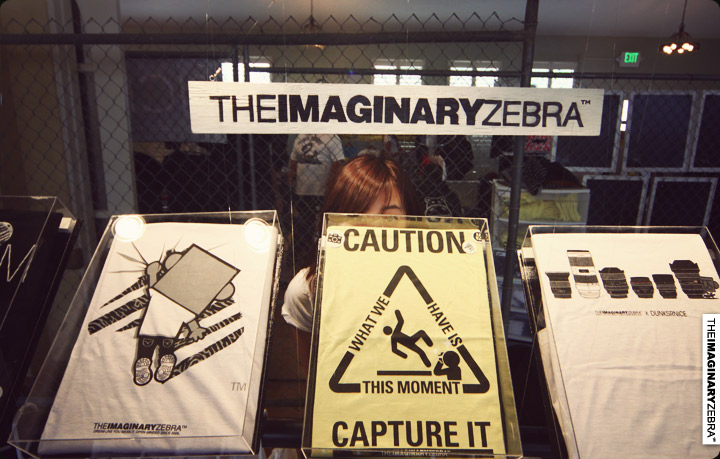
Here are a couple pictures of it at events: 
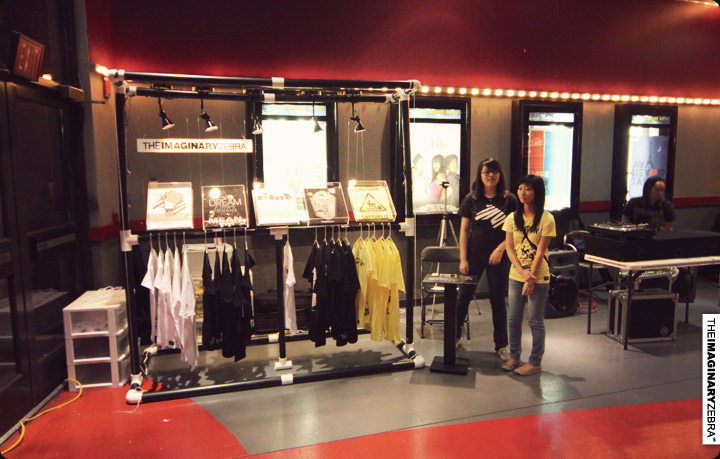
I think there’s still more places to improve, but that’d do for now.
Hope you enjoyed the process as much as I did.
’til next time!
-Benson|| Twitter || the movement|| The Imaginary Zebra website || Shop of Imagination ||