Some hobbies area better left untouched. A couple of months ago a friend introduced me to the watch mod (watch modification) community and I haven’t stopped thinking about modding a watch of my own since.

The watch mod sub-culture: -Like custom cars, there’s a community of watching modding fanatics, particularly for Seiko watches due to its affordability and its beautiful and widely compatible automatic movement (the engine of the watch). People can find a plethora of aftermarket parts and tools to replace existing elements to make something uniquely your own.
Start with an end in mind.
After compiling hundreds of inspirations and researching a variety of shops and their watch parts supplies, I finally committed to begin my first mod.

Modifications I’m making
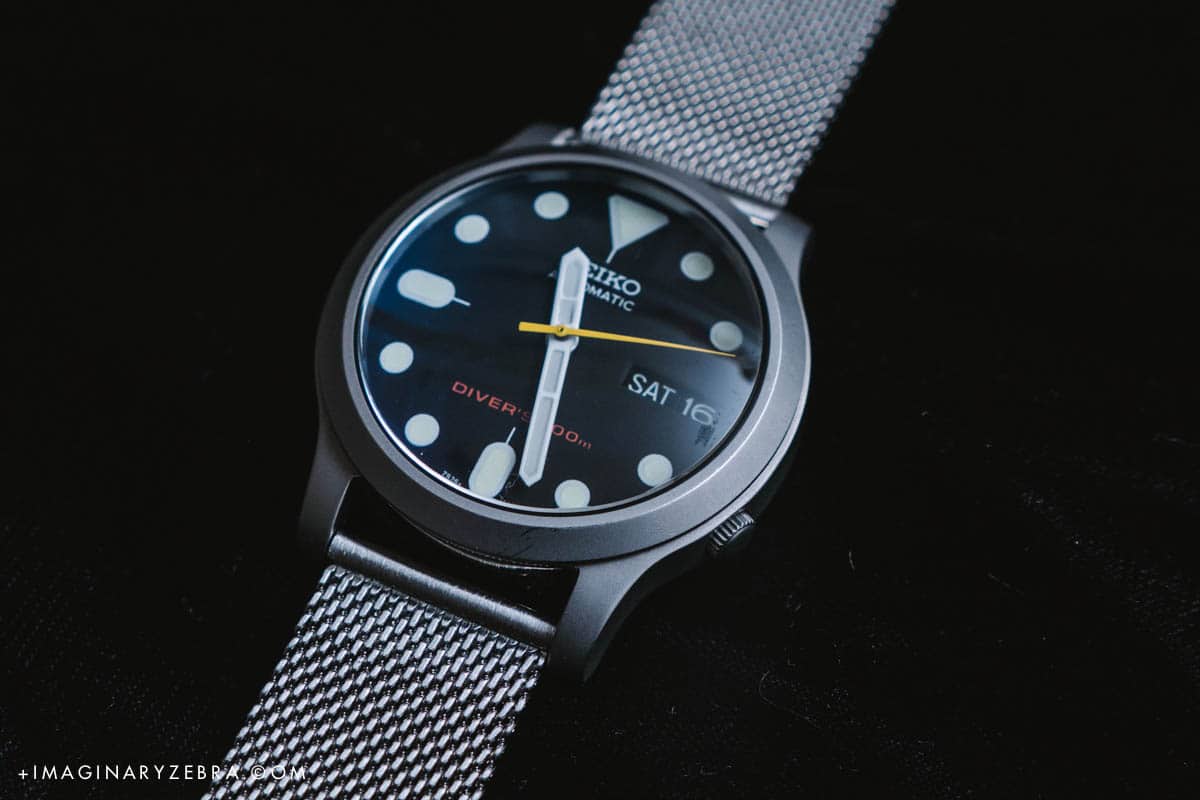
-Seiko SNK809 as the base watch. (Amazon or eBay)
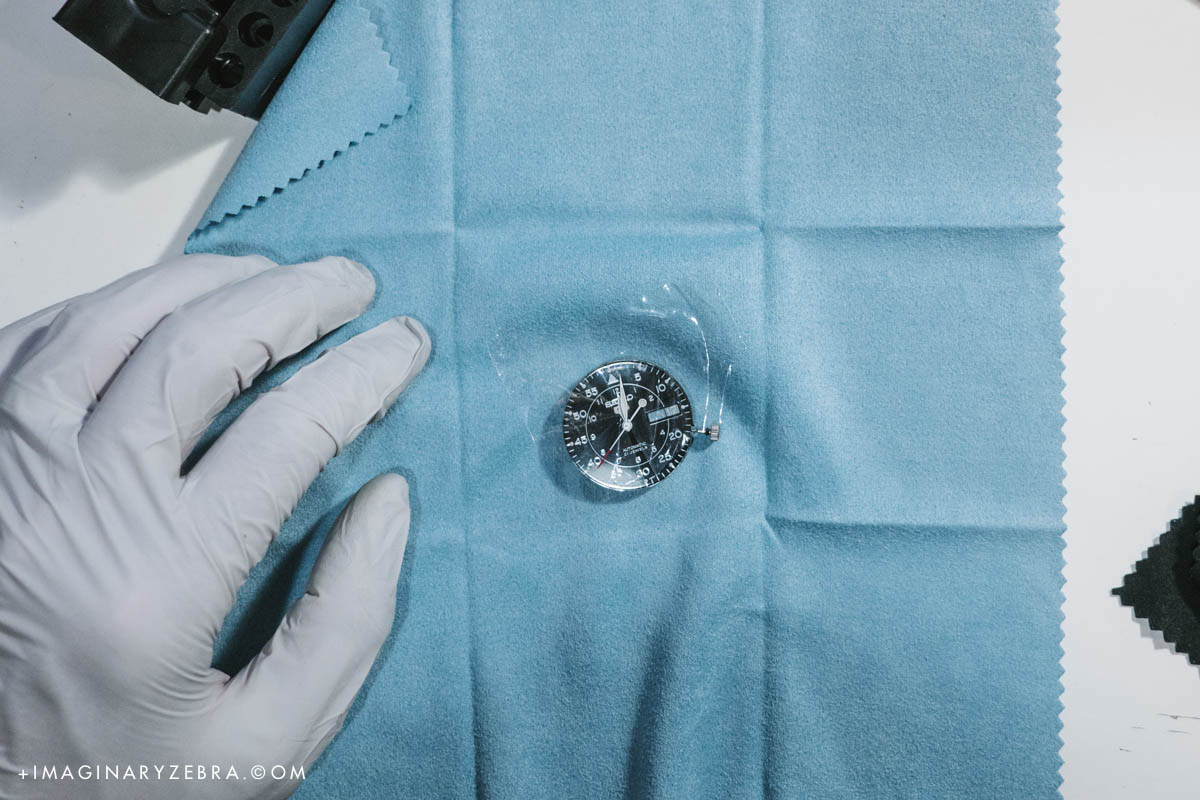
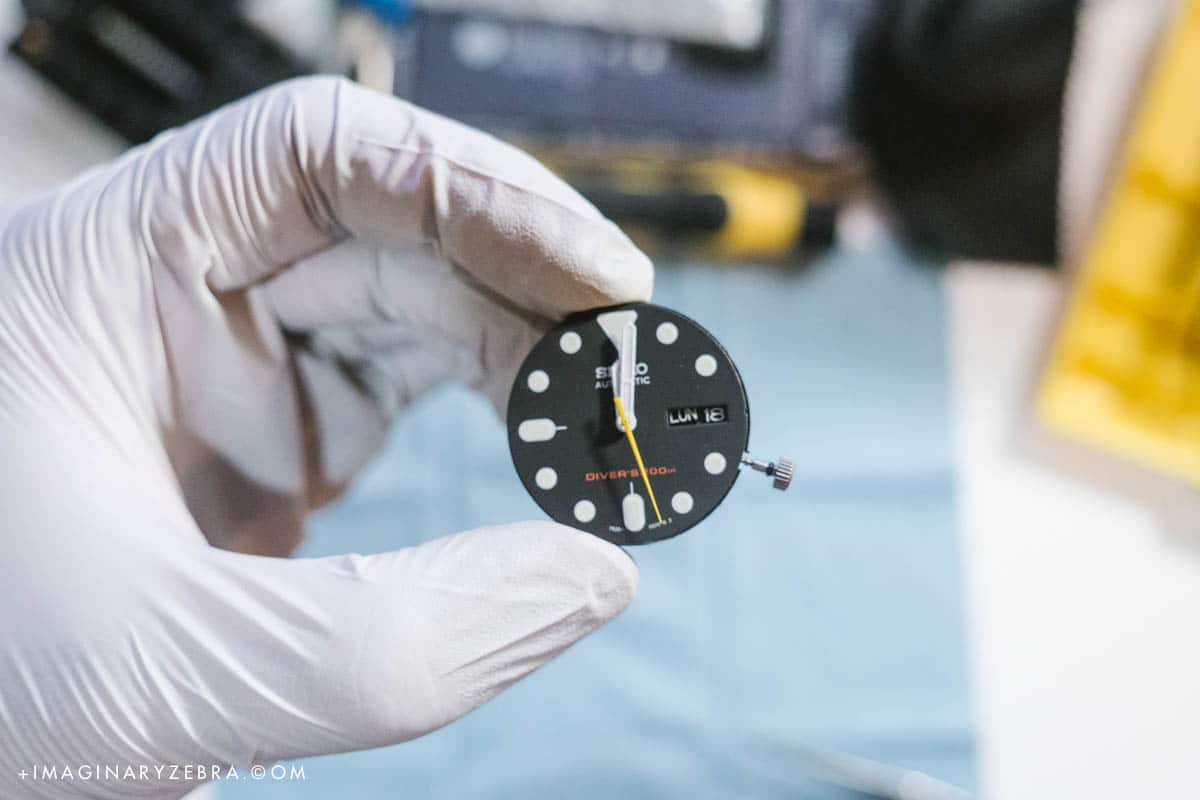
-SKX007 dial (I chose the SKX007 dial (as opposed to the SKX009) for the black backdrop and added a yellow seconds hand as accent and tribute to Braun and Dieter Rams. (eBay, Orion, etc)
-DLSwatch brand hands (DLSwatches)
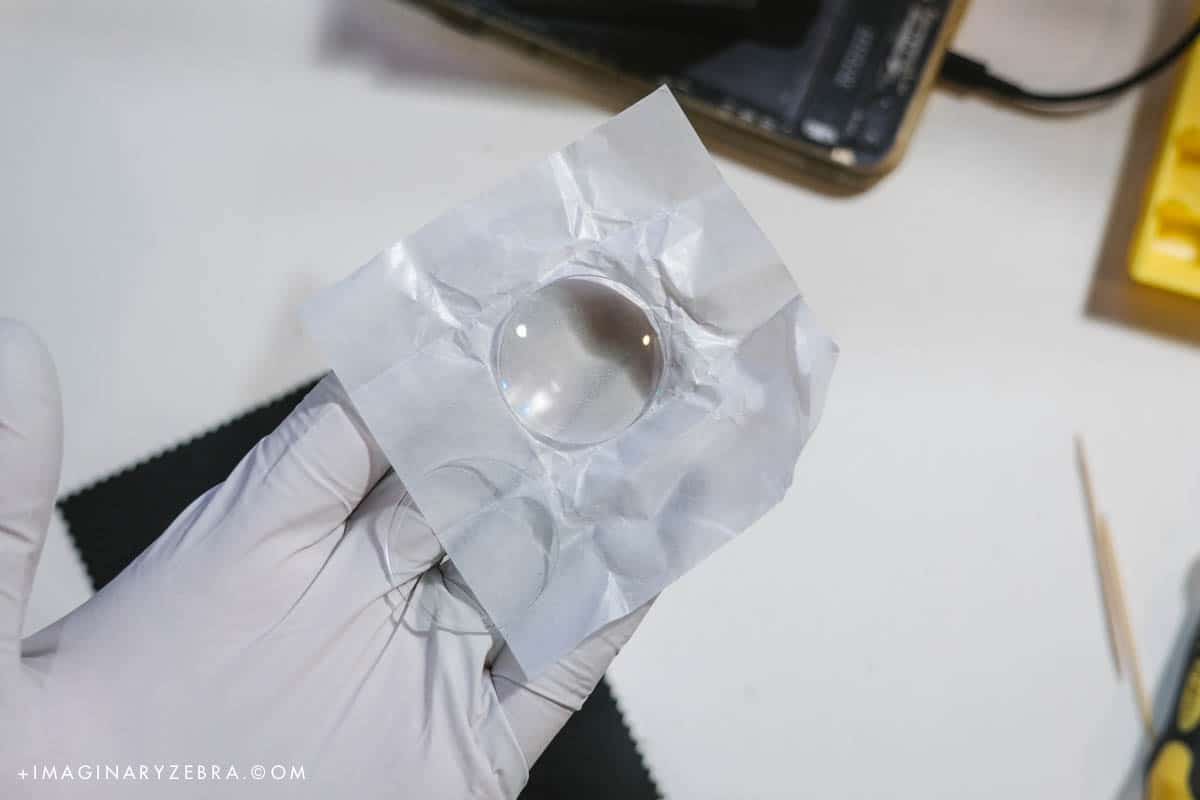
-Sapphire domed crystal (Crystal Times, eBay)
-Milanese strap (Amazon)
Tools & Prep
Wear gloves (No fingerprints)
Clean work area (Saves you a ton of work later; cleaning dust and specks off from the watch is a pain in the ass)
Remove watch straps

Step by step guide to modding my Seiko SNK809
1. Unwind the case back  There are a few tools you can use to unscrew the back case. I chose the plier simply because I didn’t have other options at the time. It worked out fairly well.
Tip: Put masking on the case to add a layer of protection from accidental scratches. This saved me twice.


2. Remove the crown

Tip: Use a toothpick.
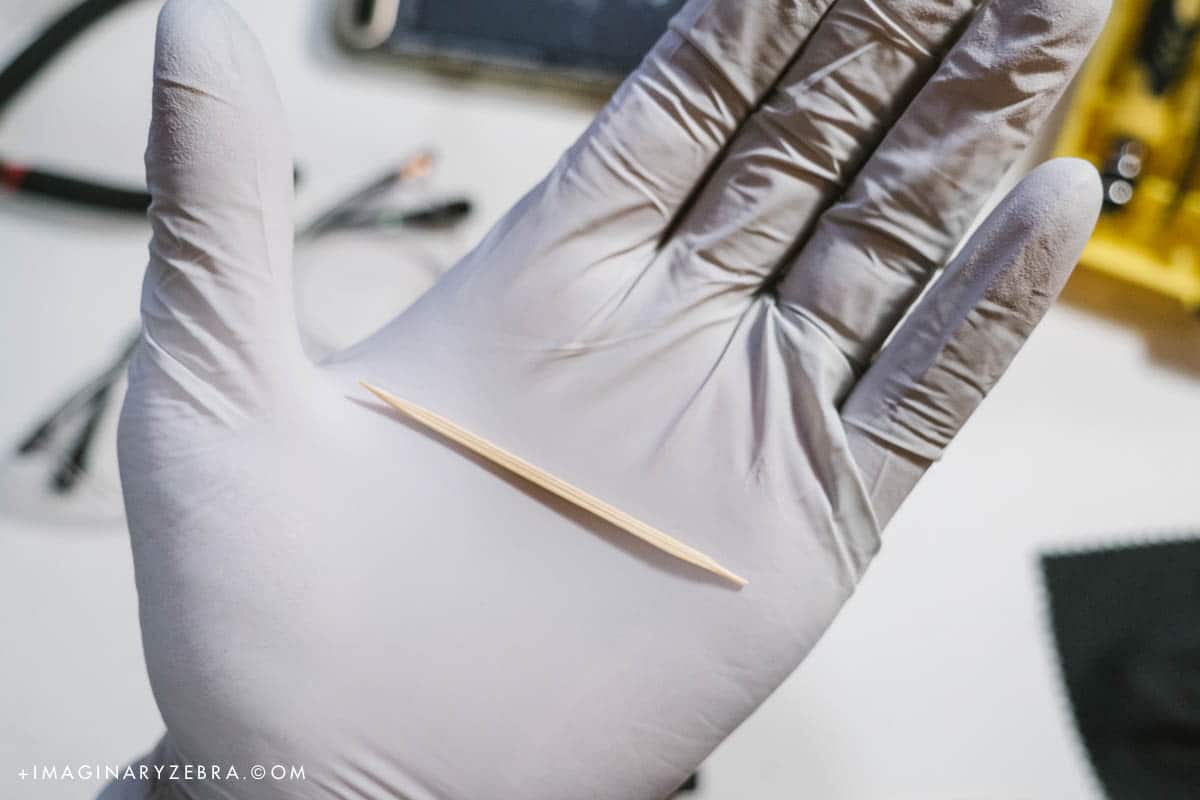

Tip: Tape it down.

3. Pop out the movement

Some can softly tap the front side to drop the movement out of the case. I had to use a flat head in this case. The movement is a delicate thing, and all the steps above require no brute force.
To change crystal
I chose to upgrade the original crystal with domed sapphire crystal.
*Need crystal press 
Having a decent crystal press makes all the difference. I purchased mine from eBay; buy cautiously with high rated sellers. This may be one of the most critical tools when it comes to crystal mod.
1. Pop out & squeeze in
The crystal press typically comes in assorted dies to fit watches of most, if not all, sizes.

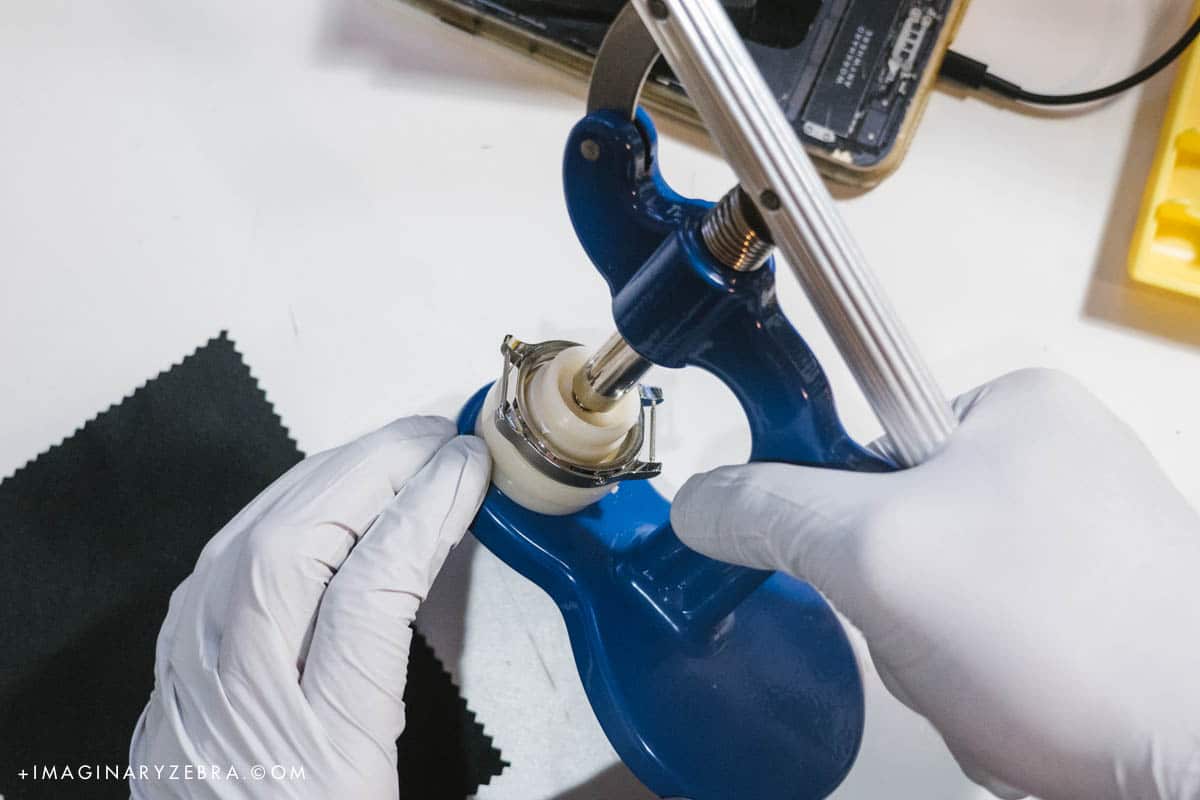
To squeeze new the crystal back in the case, follow the same step above. There’s no sure *clicks* to indicate a well-sealed crystal; you’d have to press hard on the crystal a few times and make sure all sides are leveled.
2. Seal the back and insert the crown (leak test)
To make sure you’ve done the right job, you’d perform a leak test. The pros would perform a pressure leak test with a pressurizer. In my case, a standard cup of water would do.


Waterproof’d? Good.
To change hands and dial
For this watch mod, I kept the design simple including monochromatic dial and hands except for the second hand, which I added the yellow accent as a tribute to Braun and Dieter Rams.
1. Insert crown and wind to 12:00
Insert the crown back into the movement. No need to press the crown release tab that you used to remove the crown (not for this movement). Insert the crown and wind clock-wise to adjust the hour hands to 12:00. This helps with alignment in the following steps. No need to deplete the power reserve. You can change the hands while the seconds hand’s still running.
2. Slide protector and remove hands
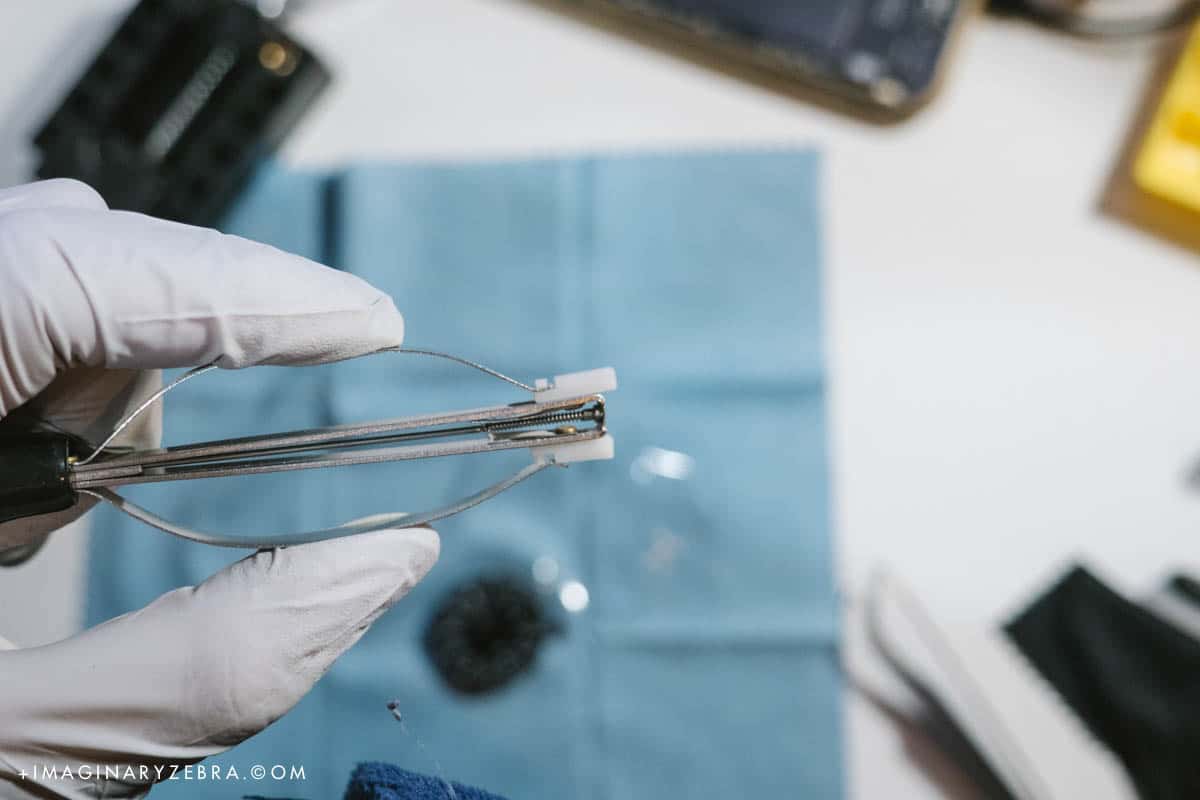
Drop the hand removal tool perpendicular to the dial below the hour hand, squeeze tight, and pull them out of the staff. Might require slight force.
3. Remove dial (flat head)


4. Place dial and hands (can be tricky)
Just as I’ve read through many other tutorials, this part may require the most patience. We must first intricately placing each hand back onto the center staff as the hands are fragile and can bend easily, so this part may take some trials and errors.
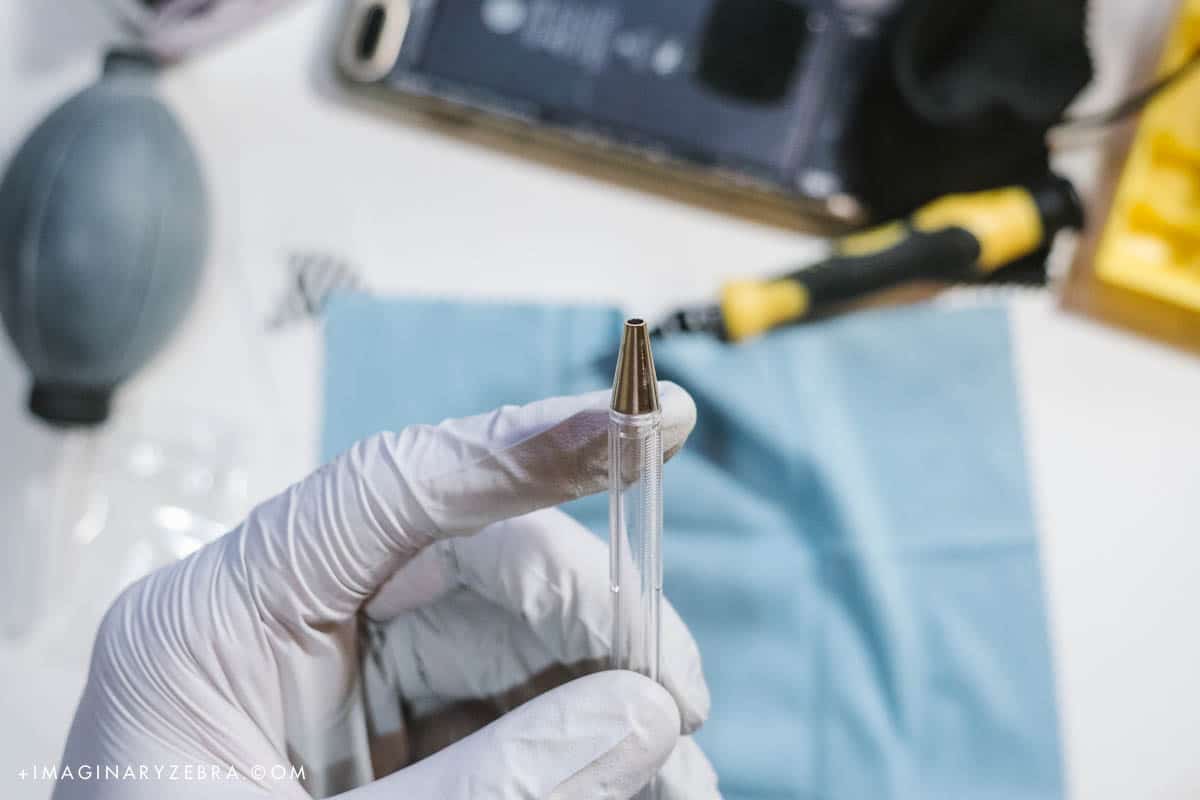
I would recommend the watch hand press tool. I didn’t buy one and had to improvise–something that can press evenly around the center staff and onto the hands. The hole for the pen was larger than the staff, so I wasn’t exerting the right pressure all around and caused the hands to bend. I had to carefully fix each hand after.
5. Make sure hands are aligned
Turn the crown and the hour/minut should land accurate at each hour. Align’d? Good.
Finishing touches
1. Clean all specks and fingerprints
Hope you’ve been wearing gloves.
2. Pop in movement, insert crown, and seal the back case


3. Inspect the watch
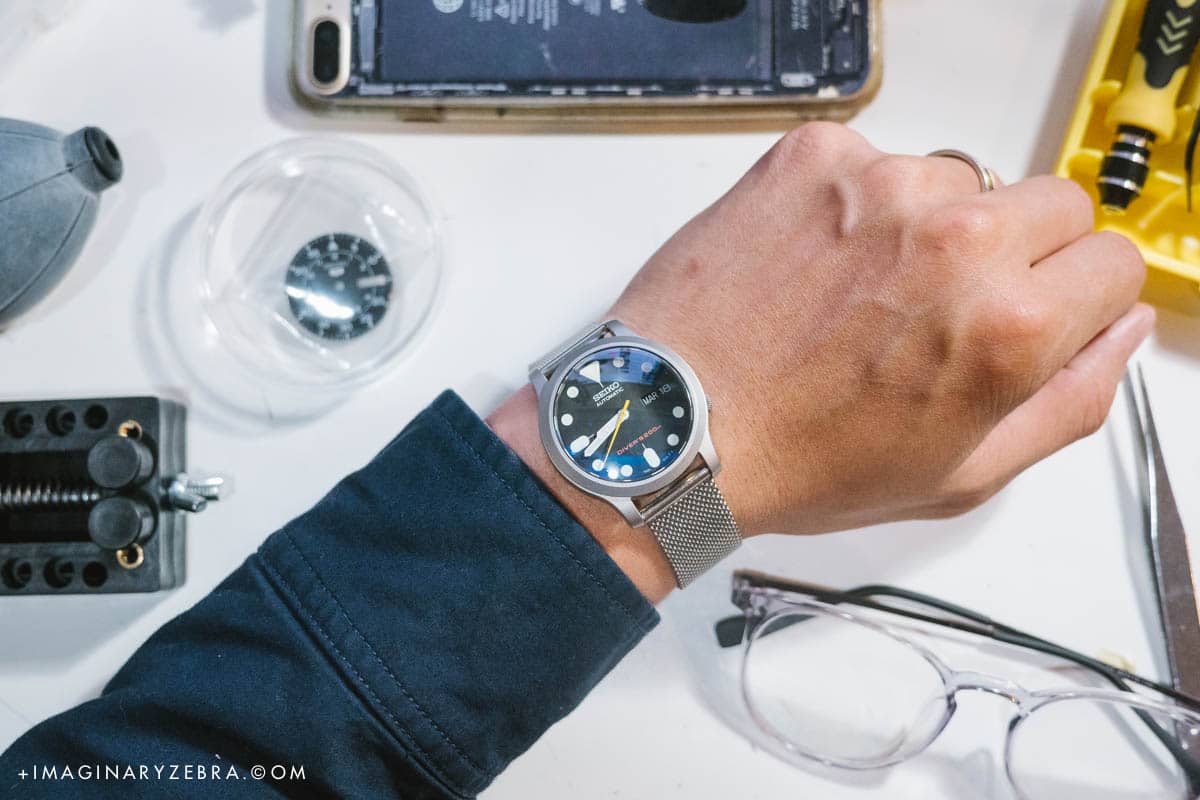
 Hands, dial aligned? No smudge or specks? Baby’s still asleep? Good.
Grab a beer and show off your custom piece
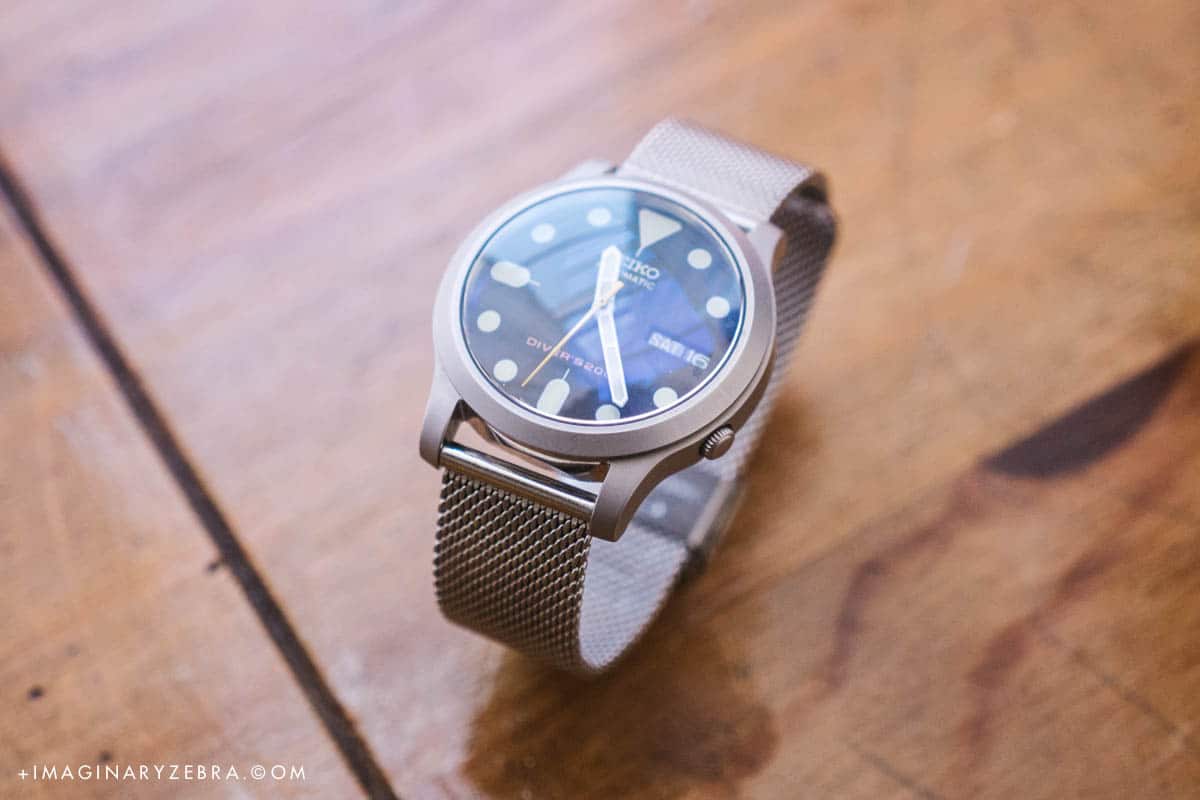


This is the first time I mod a watch and am decently satisfied with the end result. I’d like to try designing my own dial in the future and/or paint over unneeded elements of existing dials to make the design cleaner.